|
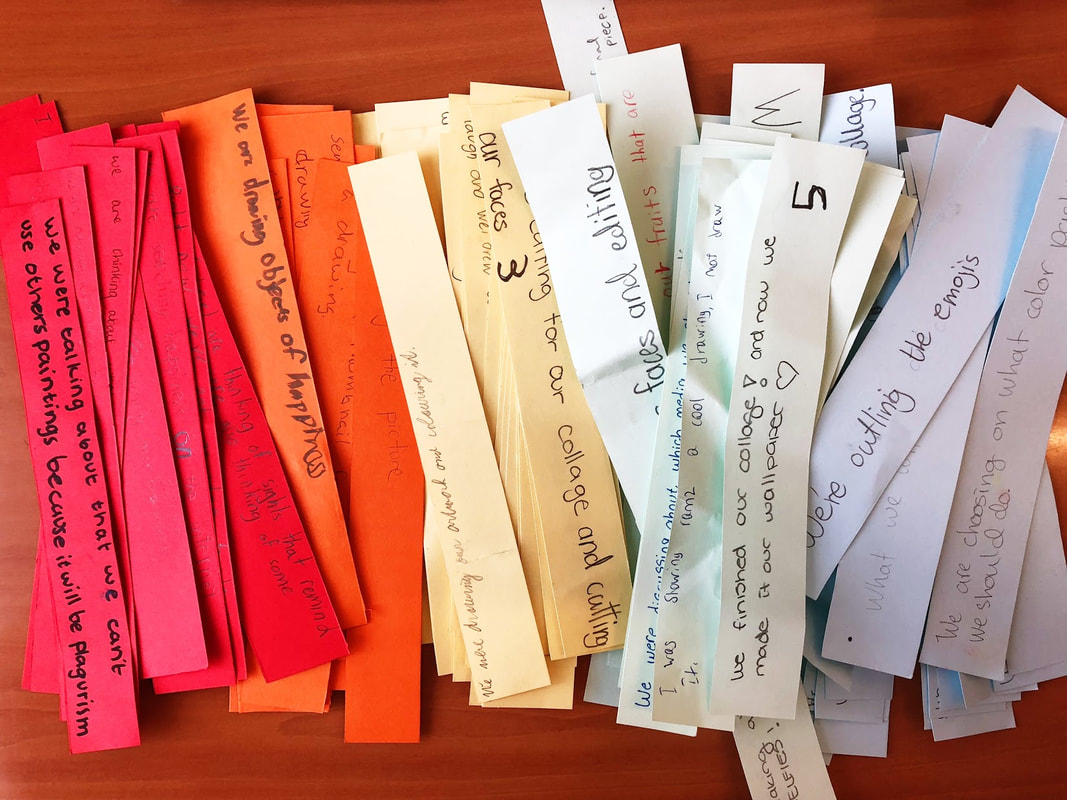
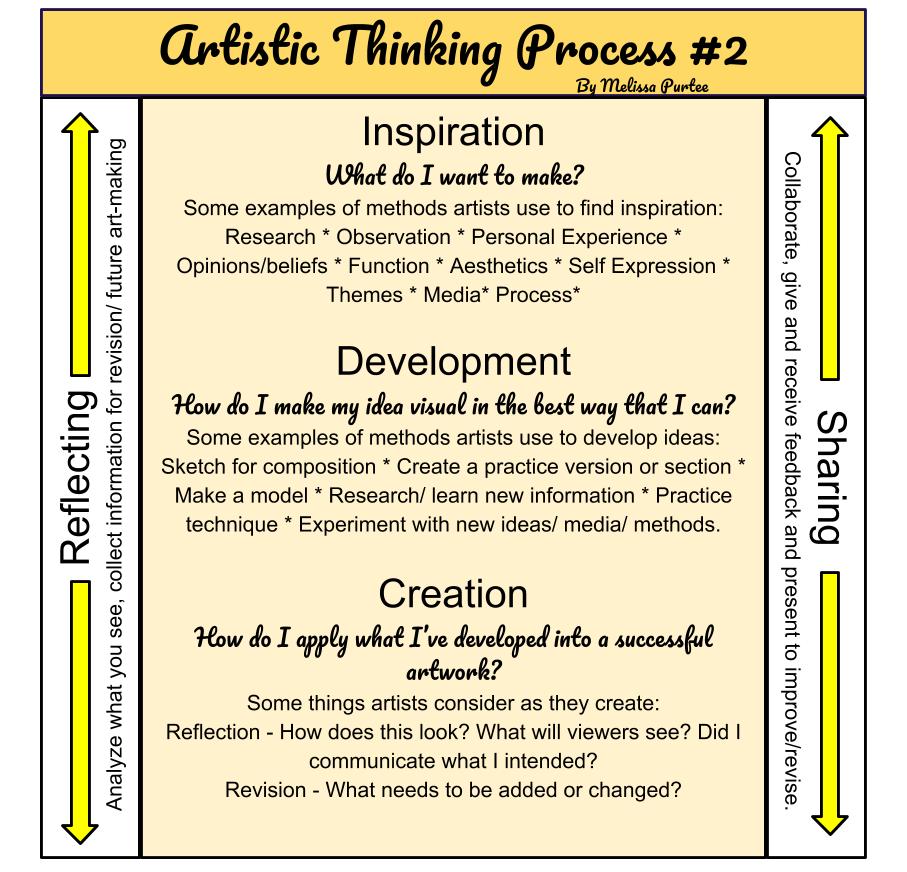
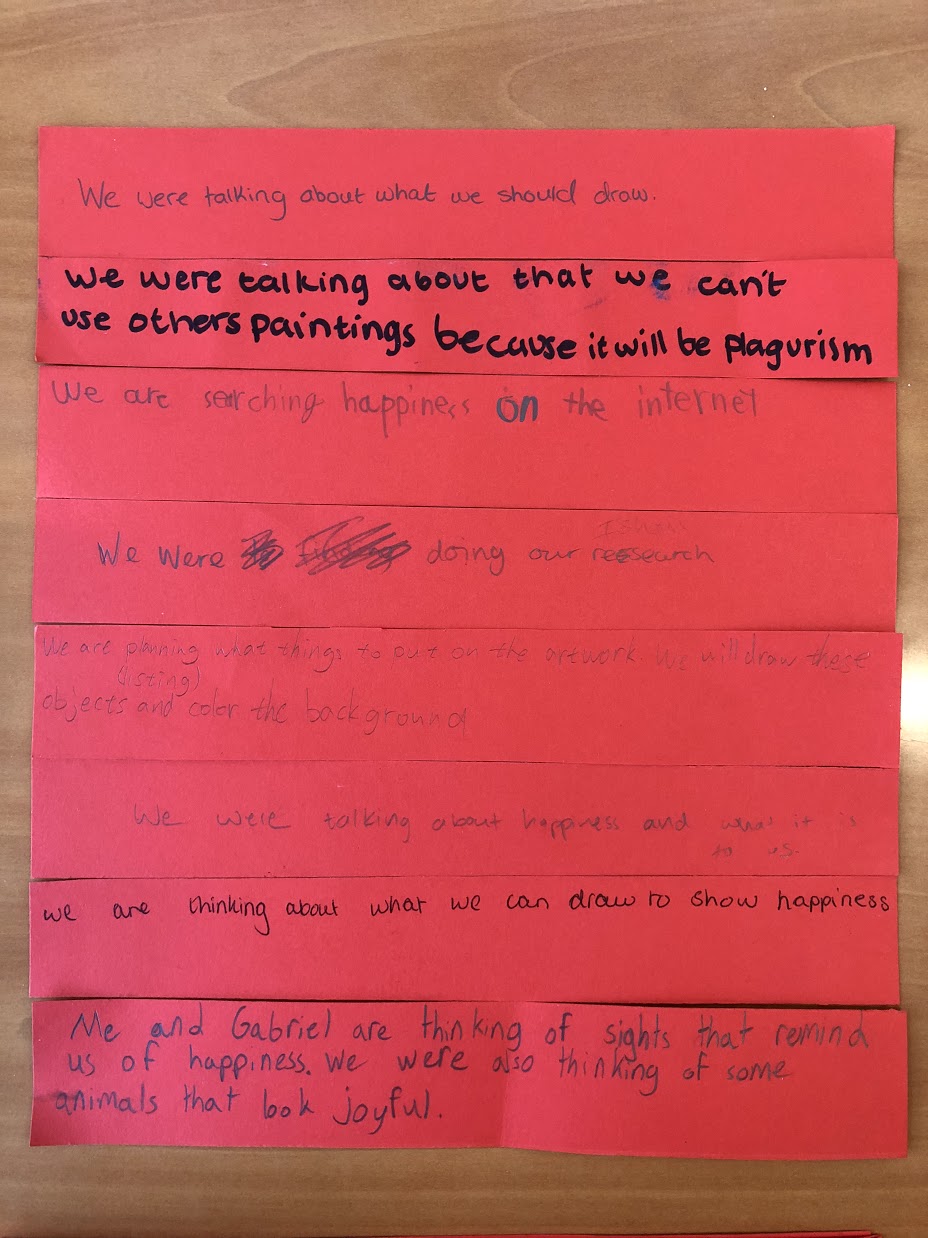
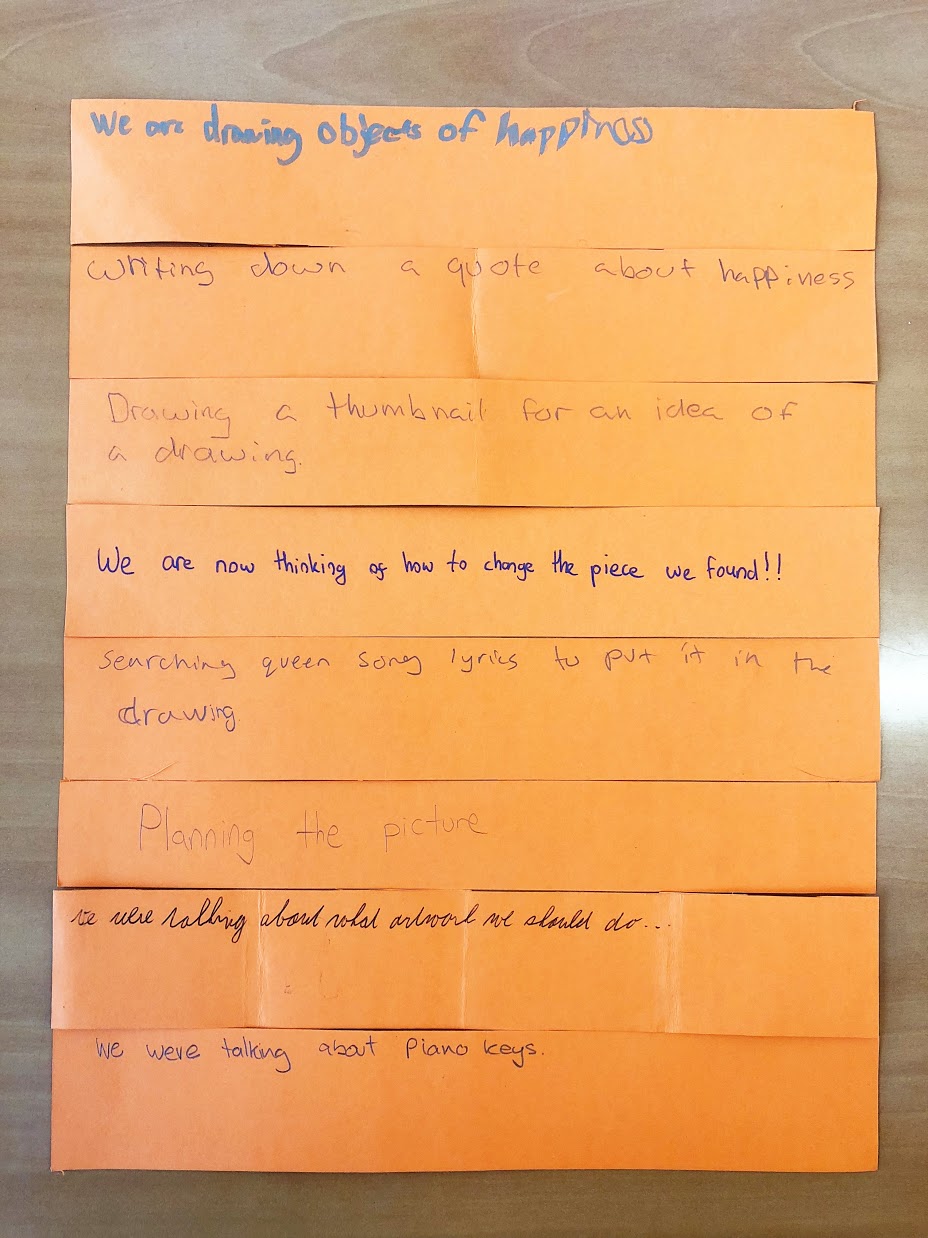
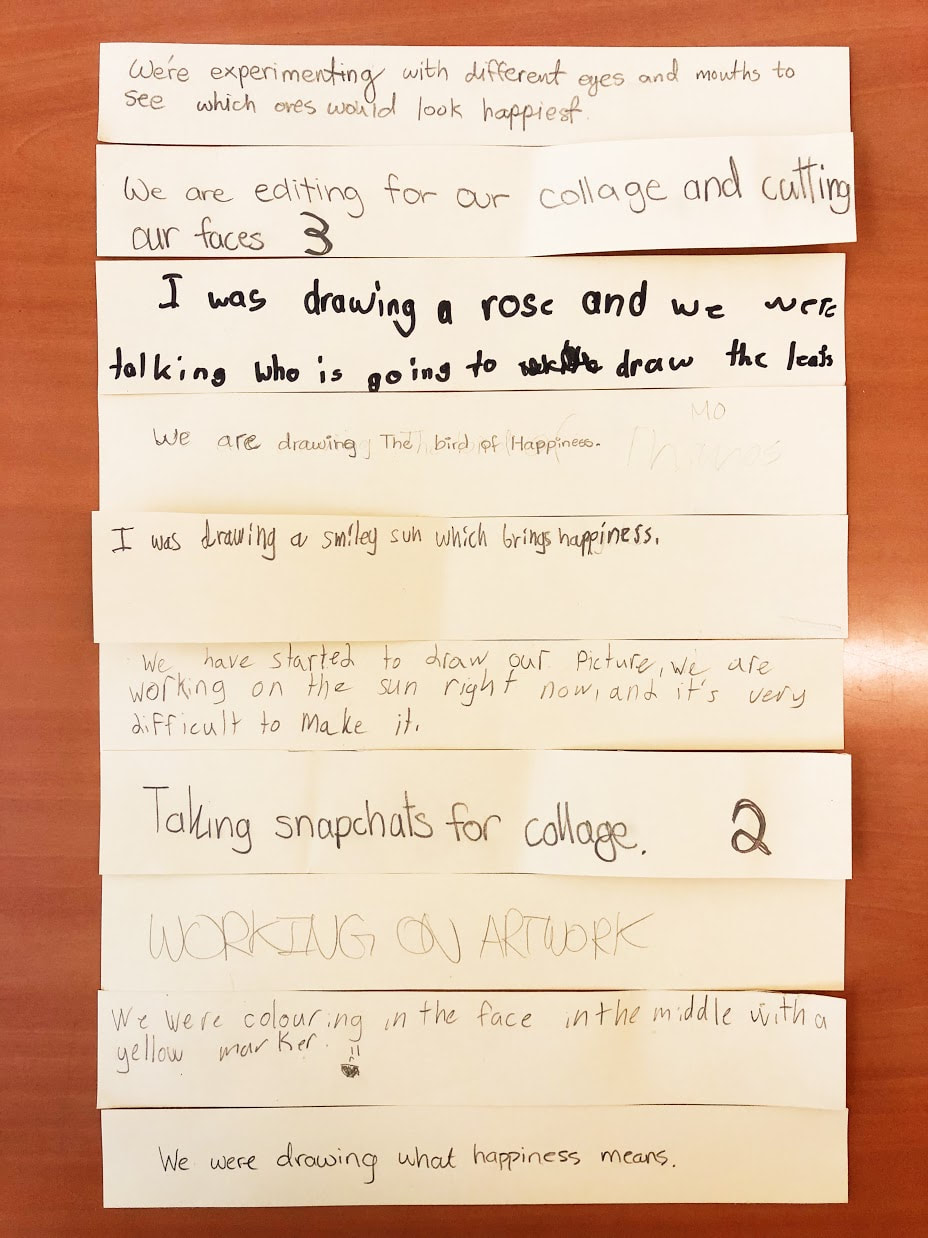
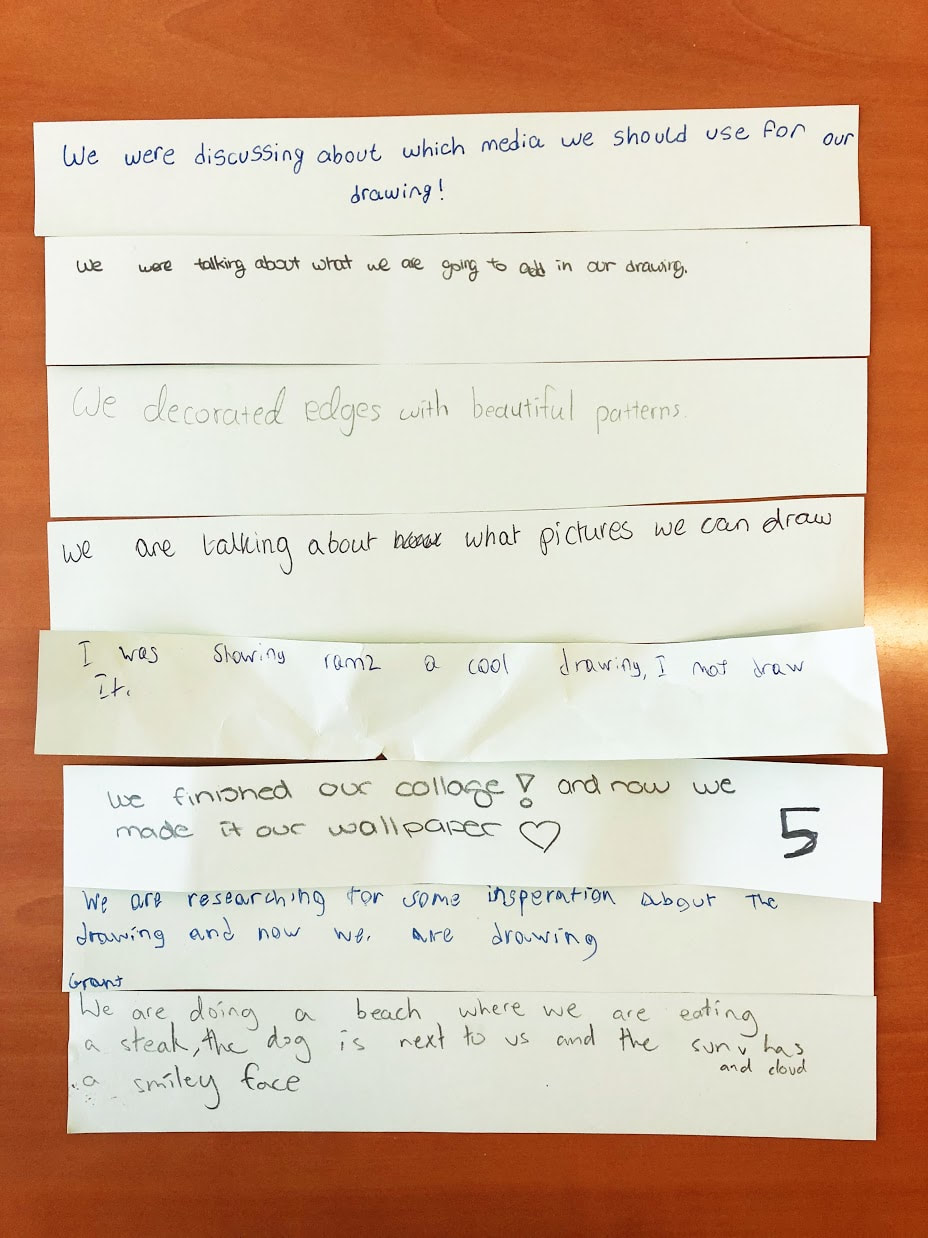
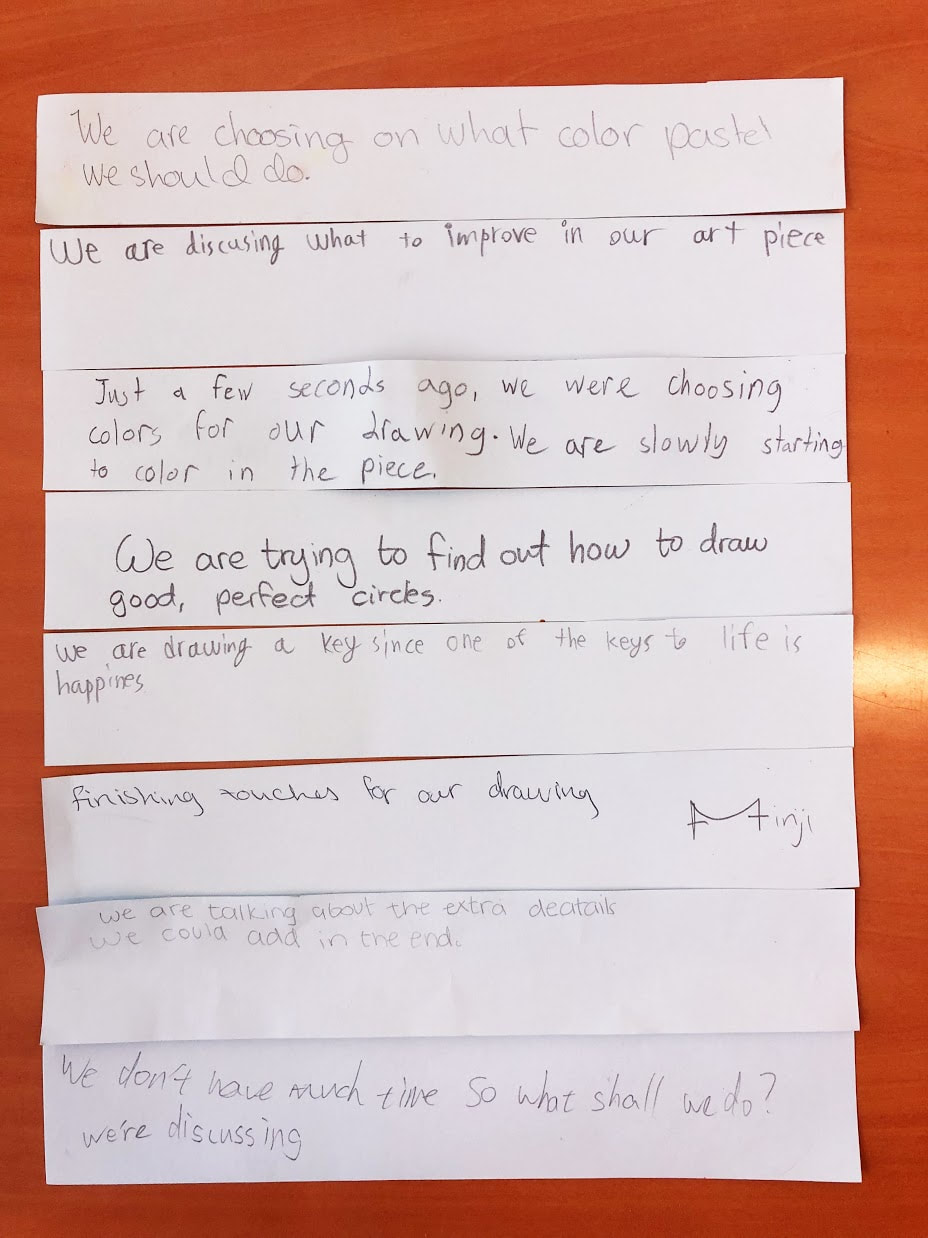
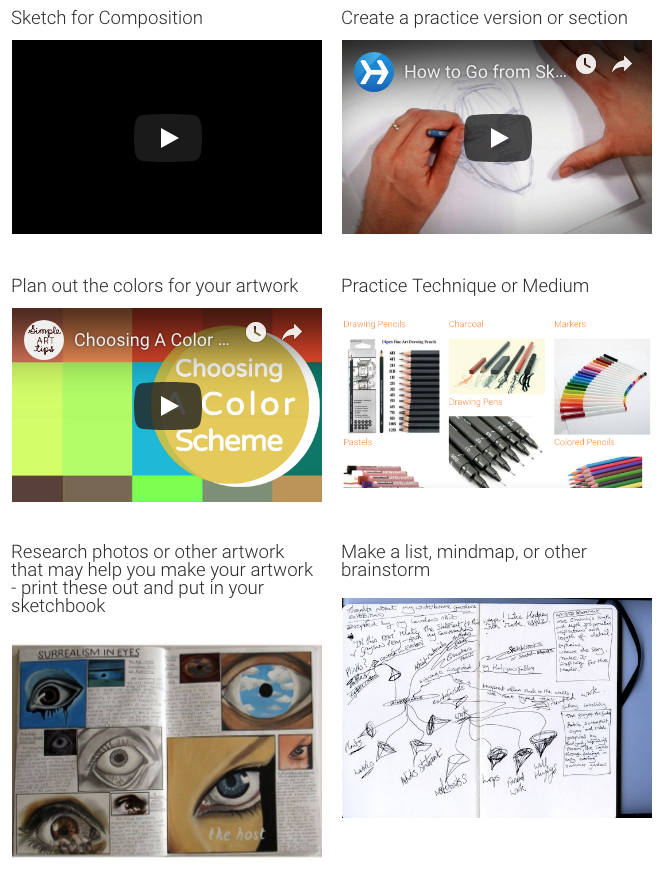
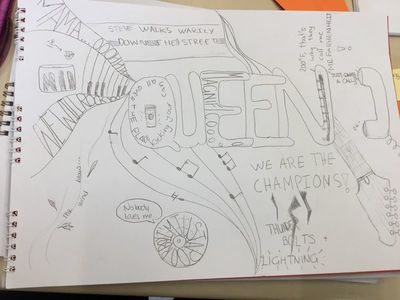
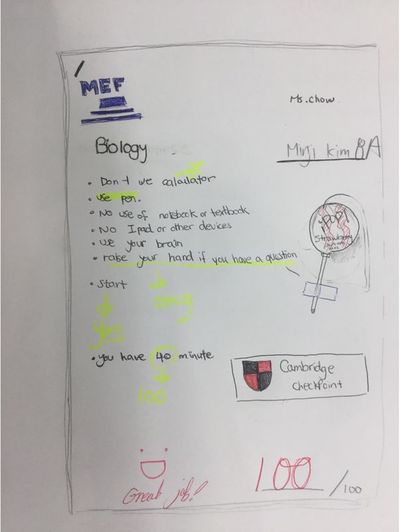
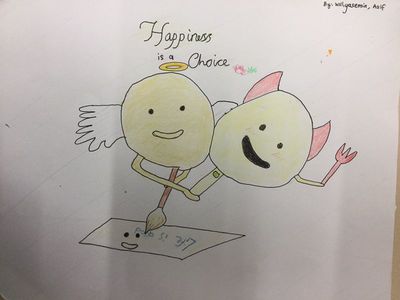
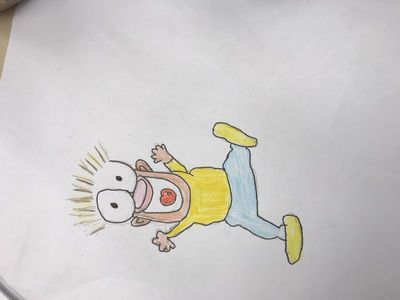
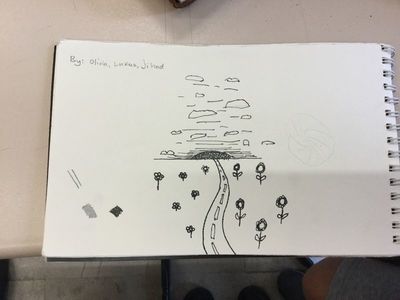
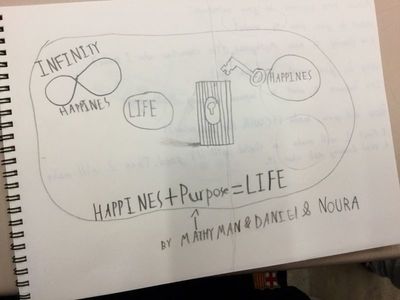
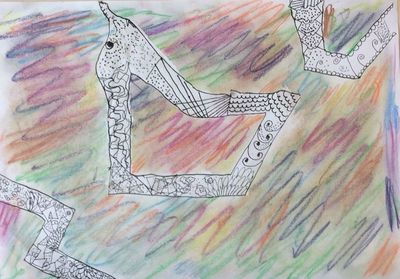
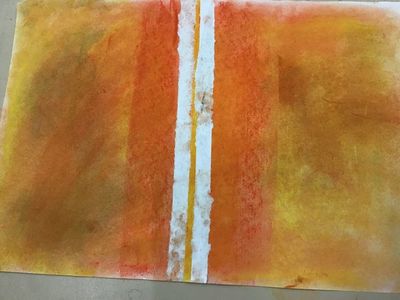
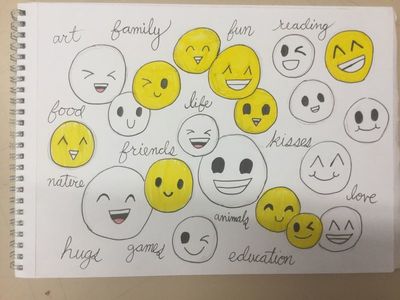
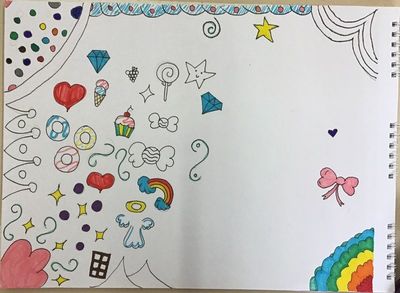
Each unit that goes by I try to get closer to my philosophy of choice based art education through the Teaching for Artistic Behaviours Model while still finding creative solutions to teach class wide skills and hack required exams. The closest I've come to my ideal is through the Independent Projects that I end the year with for every class. This comes after the students have already settled into the routines and expectations of the class and have their creative juices flowing from a year of creating. This year however, I'm shaking things up and offering a BIG Independent Project in quarter 2. I want to offer students more independence and choice right from the start and this is getting closer to where my curriculum needs to be to best serve them. "So we can make whatever we want?"This is the main question I get asked when I present the idea of an independent project to them. And the answer is yes - mostly. Just as in other creative classes, like writing for example, I ask that students support their idea, whatever it may be, with thoughtfulness and engagement. A handful of students are excited right off the bat and furiously start scribbling down a plan, a good majority however is overcome with the Blank Canvas fear. That all encompassing whiteness that appears when too much choice is offered. This year to help guide my students in creating a major artwork I introduced the Artistic Thinking Process (#2). Created by Melissa Purtee, this is the second version of the Artistic Thinking Process that was inspired by the Design Thinking Process. Read more about her development of this on her blog Thoughts On Arting. 30 Min Intro ActivityTo first present this to the students I wanted a quick activity where they would demonstrate all of the steps of the process without even knowing it. So I set them to this task: With your table create an artwork under the theme “happiness.” You may use your ipads for research if you need. You have 30 minutes I thought of a few different themes to use but at the last minute I changed to "happiness" and I'm glad I did because it was very approachable to the students but also yielded interesting results. While they were creating I walked around spying trying to overhear or see them in different stages in the Artistic Thinking Process. When I caught them in the act I gave them a slip of paper in which they wrote down exactly what they were doing at that moment. The papers were actually color coded to match the Artistic Thinking Process stages. When the 30 minutes had finished I introduced the Process by passing out a small copy to everyone (to put in their sketchbooks) and read through it together. After each stage I would ask who had a specific color paper, the table would read out what they had written and we would talk as a class on why it was an example of that particular stage. Here are some examples of what students wrote: Inspiration (Red)Development (Orange)Creation (Yellow)Sharing (Green)Reflecting (Blue)Independent ProjectNow that they had a foundation of the process, they were ready to jump into it. We used the rest of the class time that day to focus on finding inspiration (encouraging sharing and reflecting). I asked them to have the following three questions answered when they returned next class: What do you plan to make? Why do you want to make this? How will you make this (with what materials)?
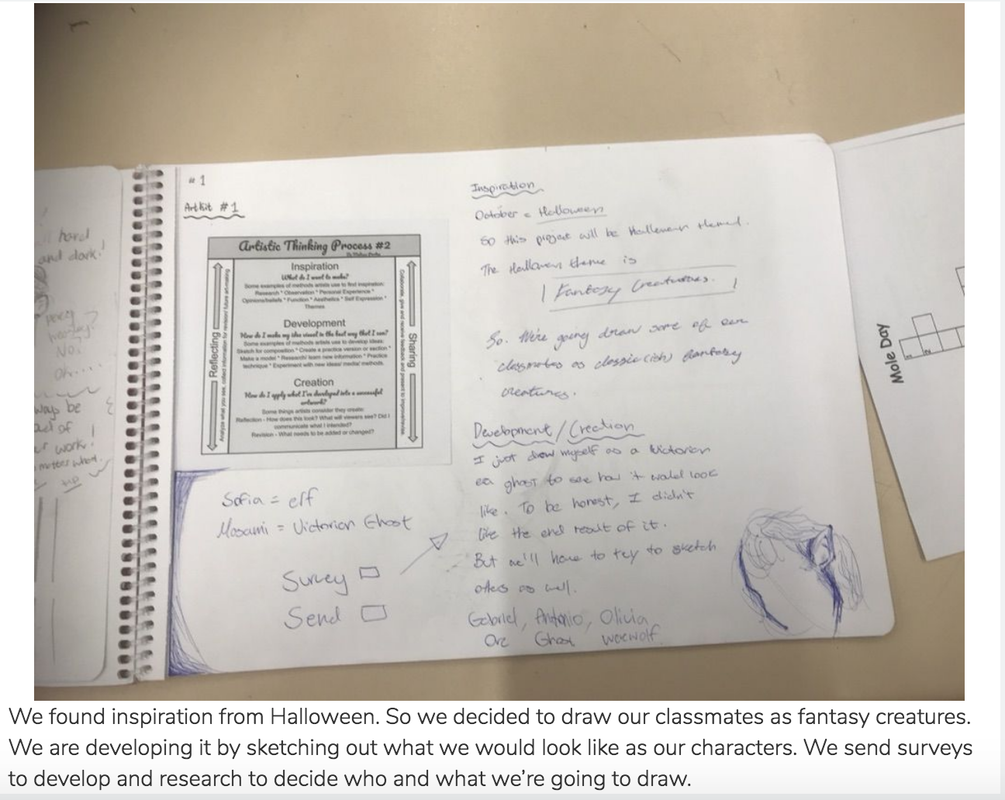
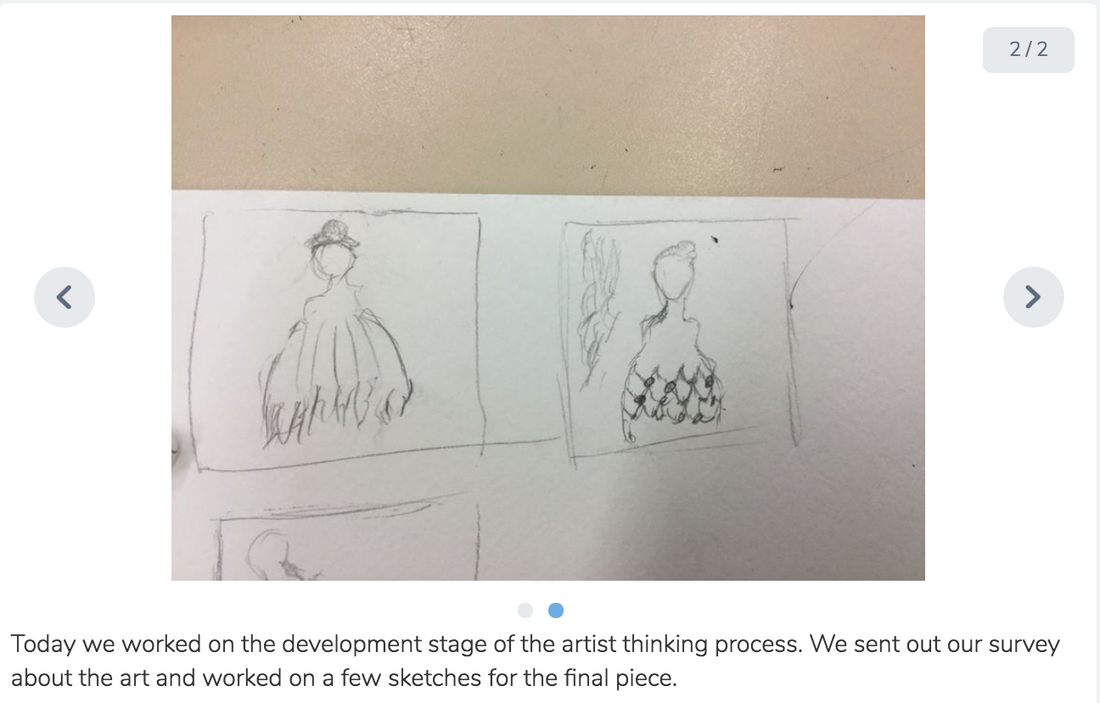
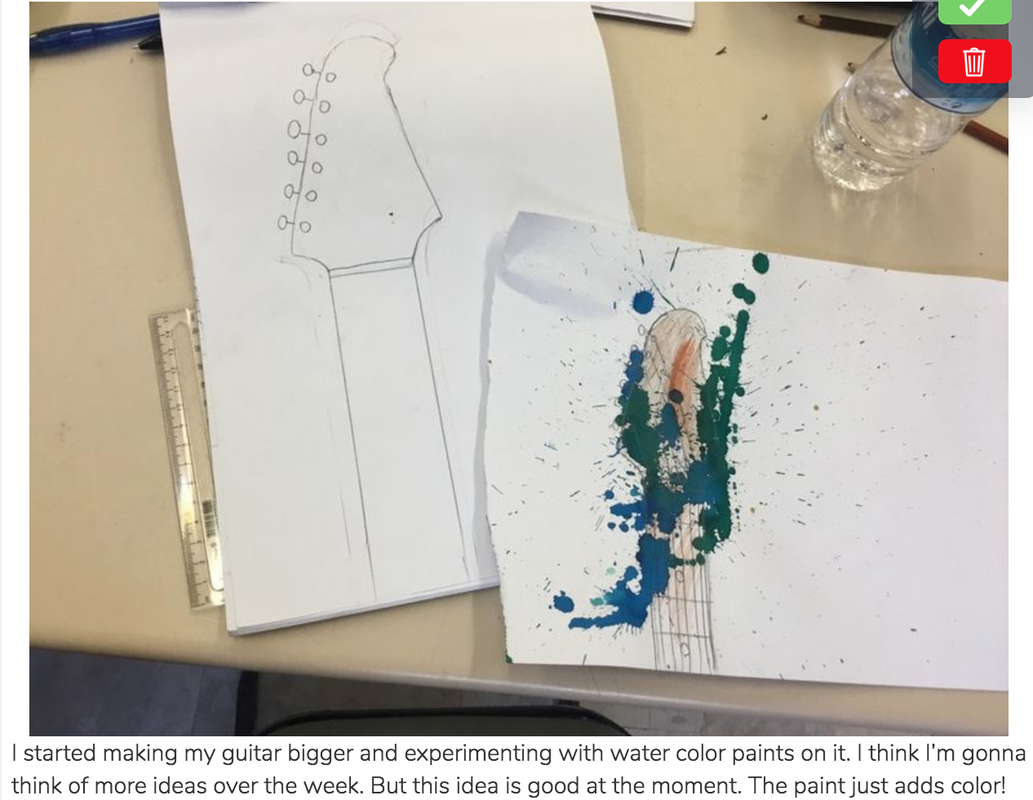
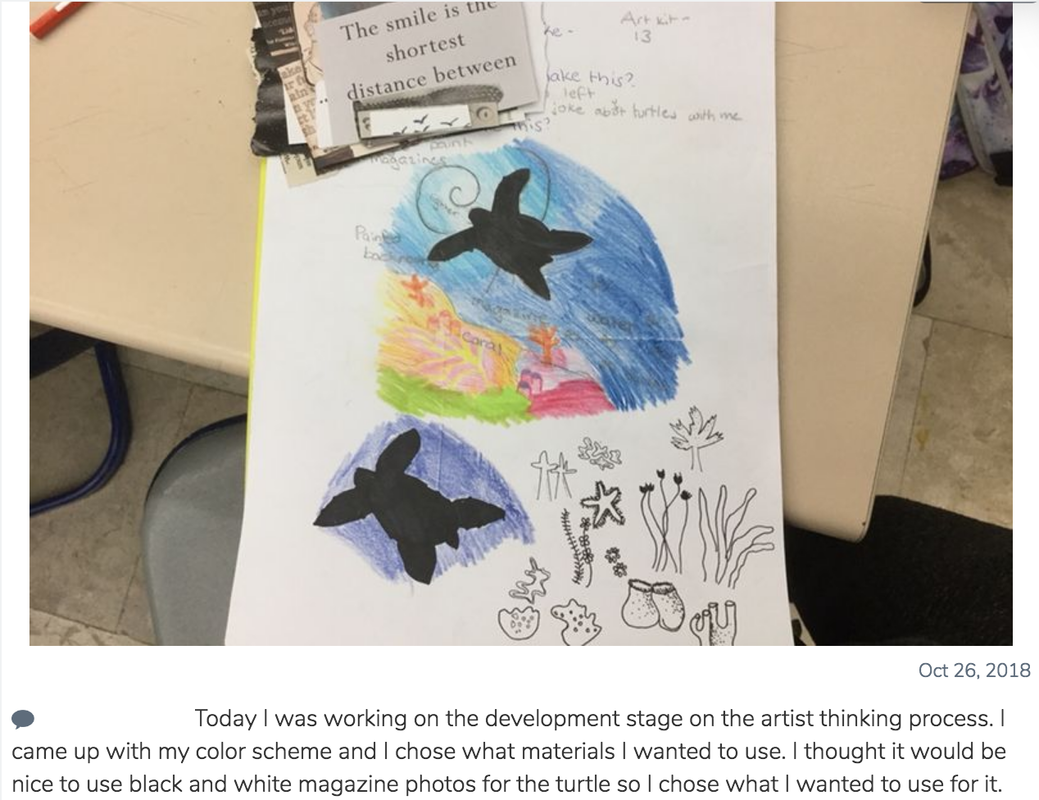
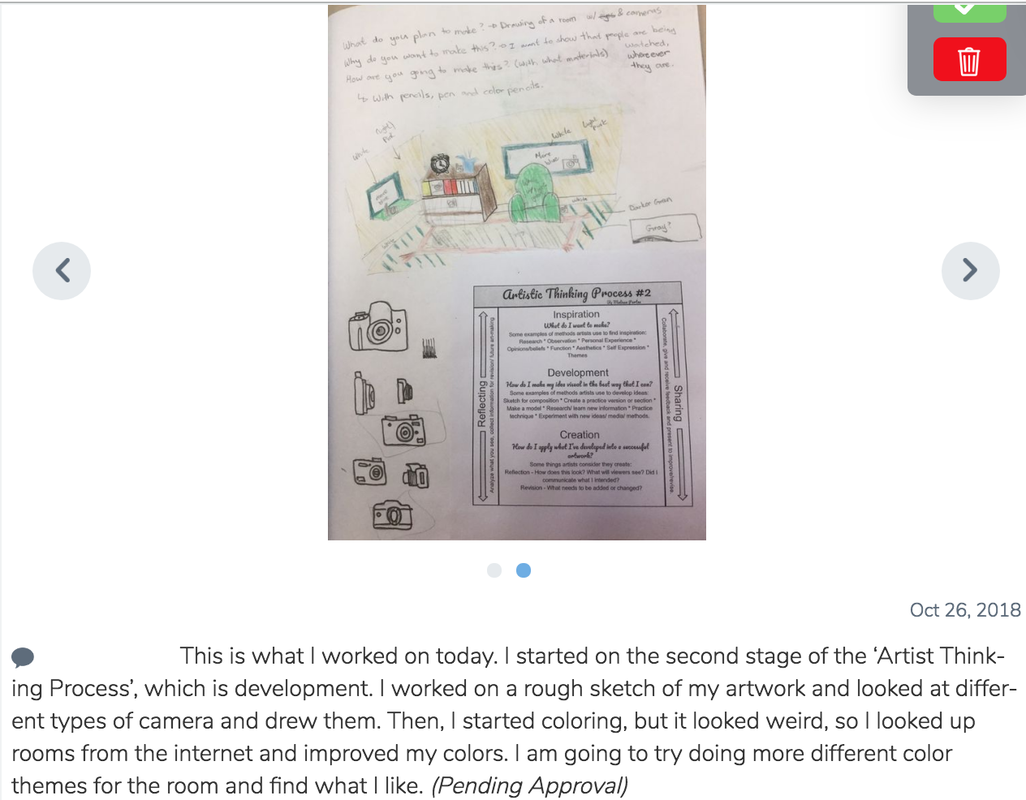
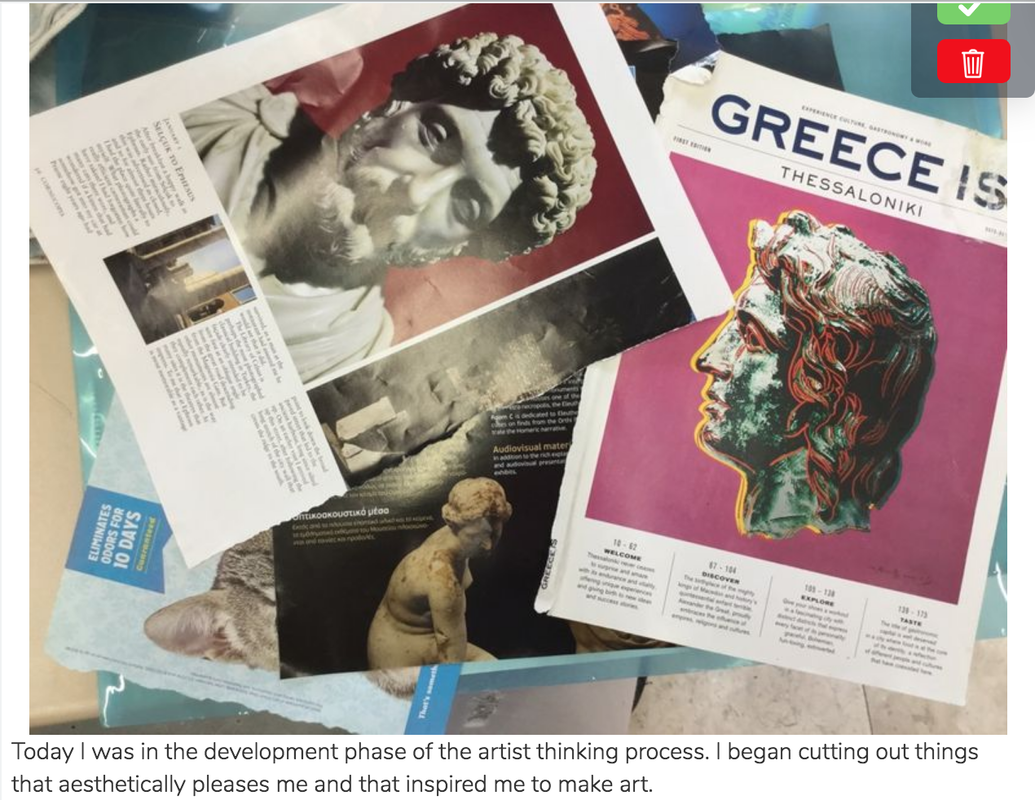
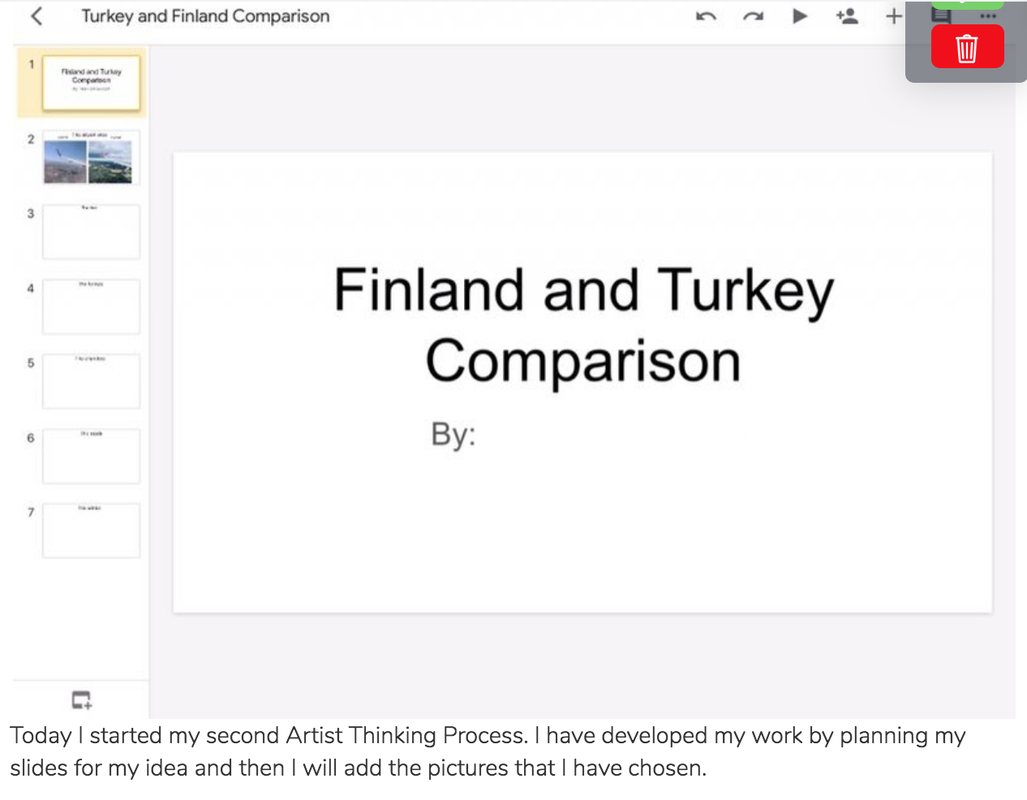
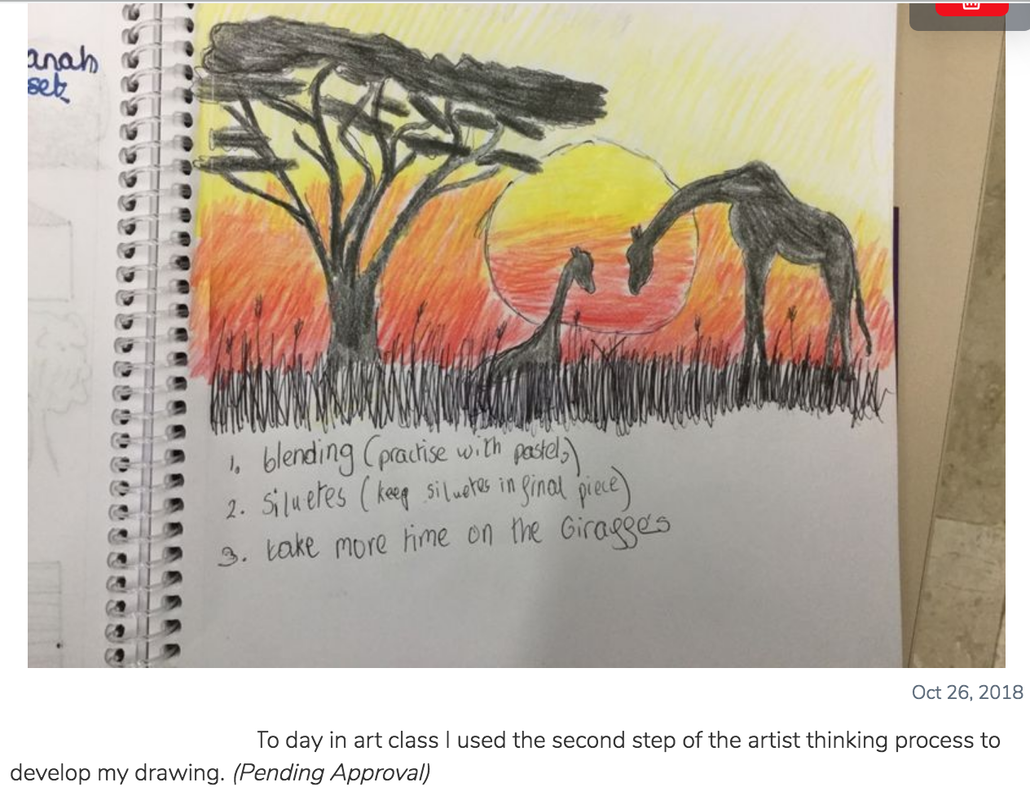
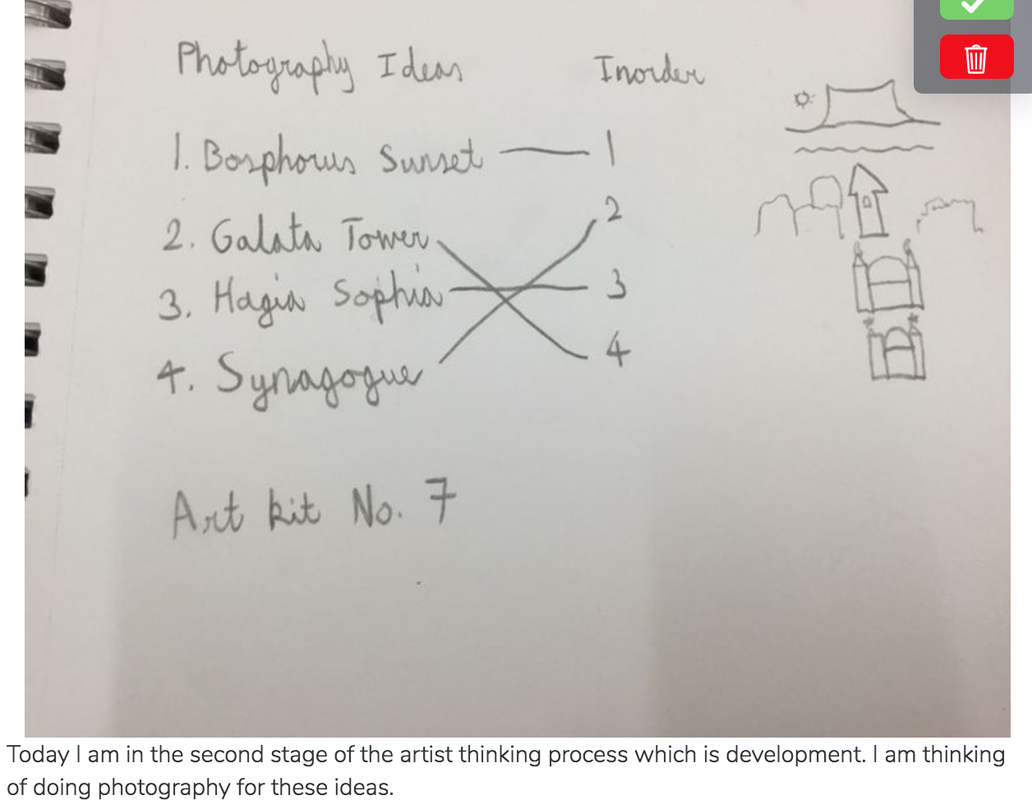
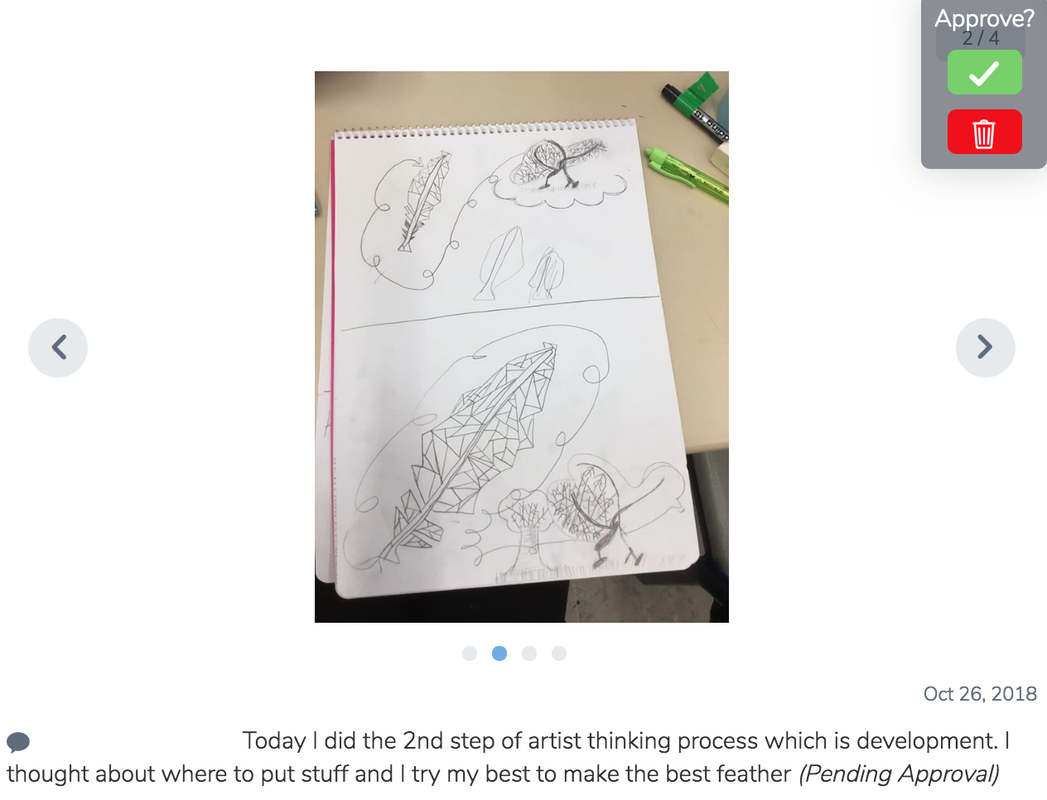
This year we are using SeeSaw as our Process Journals to record our progress after each class. Here are a few from the development stage: These two students are working together to create digital fantastical drawings of their classmates. They used the development stage to create and send out a survey and start sketching some ideas. As we head into the creation stage next I feel that my students are already set up for success by having an vision of the overall artistic process. I plan to add some small reflection and sharing activities along the way and will try to put them in here after I'm done. We have an exhibition coming in December and I am excited to see the diversity of artwork, subject matter, and media expand with each show. Lastly, although the 30 Min Intro Activity was not really about making an artwork I did enjoy seeing what they came up with under the theme "happiness."
2 Comments
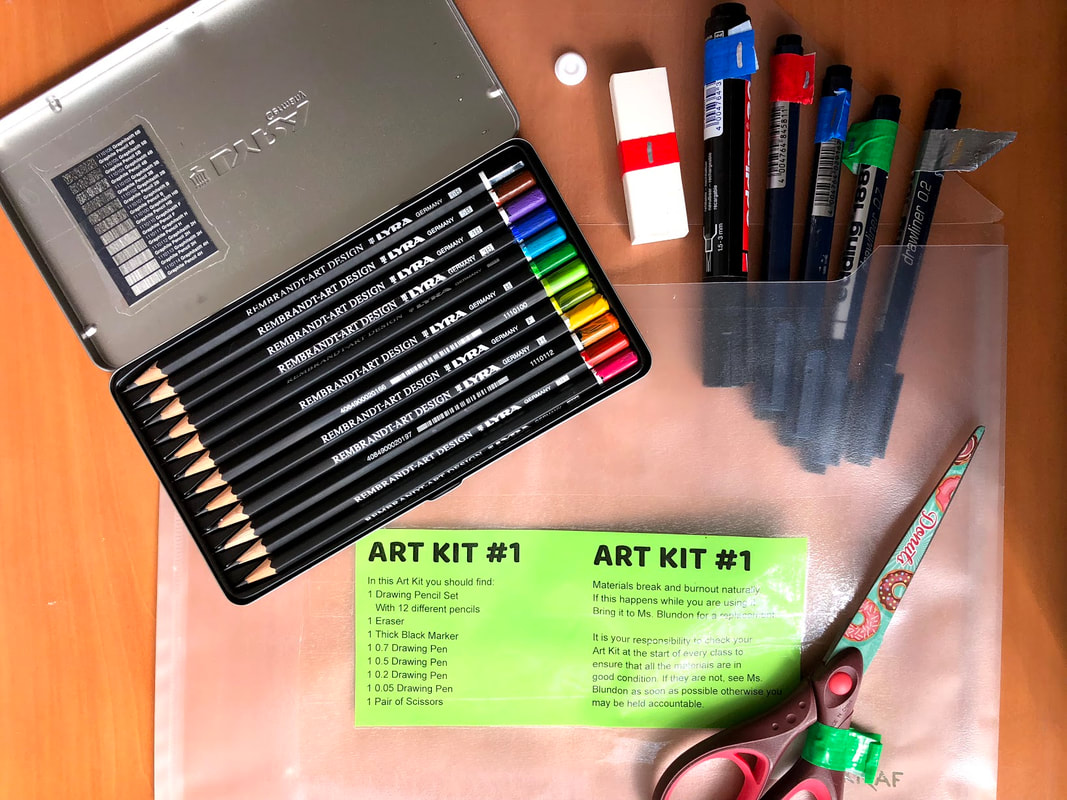
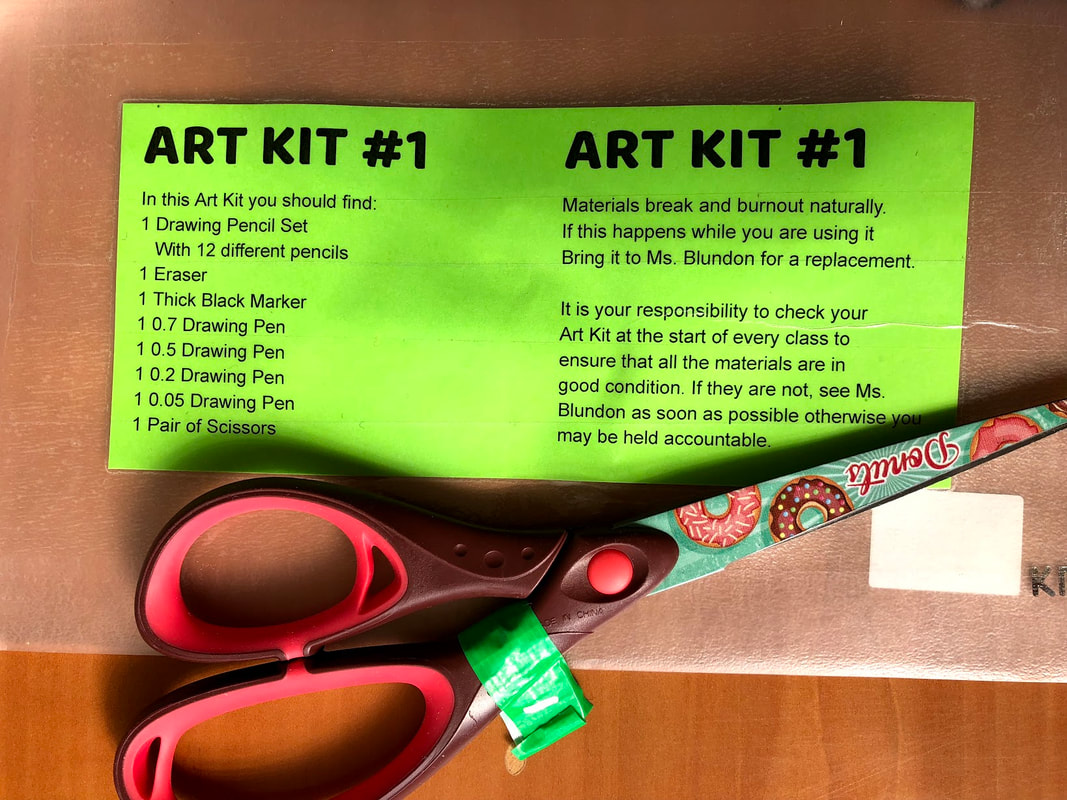
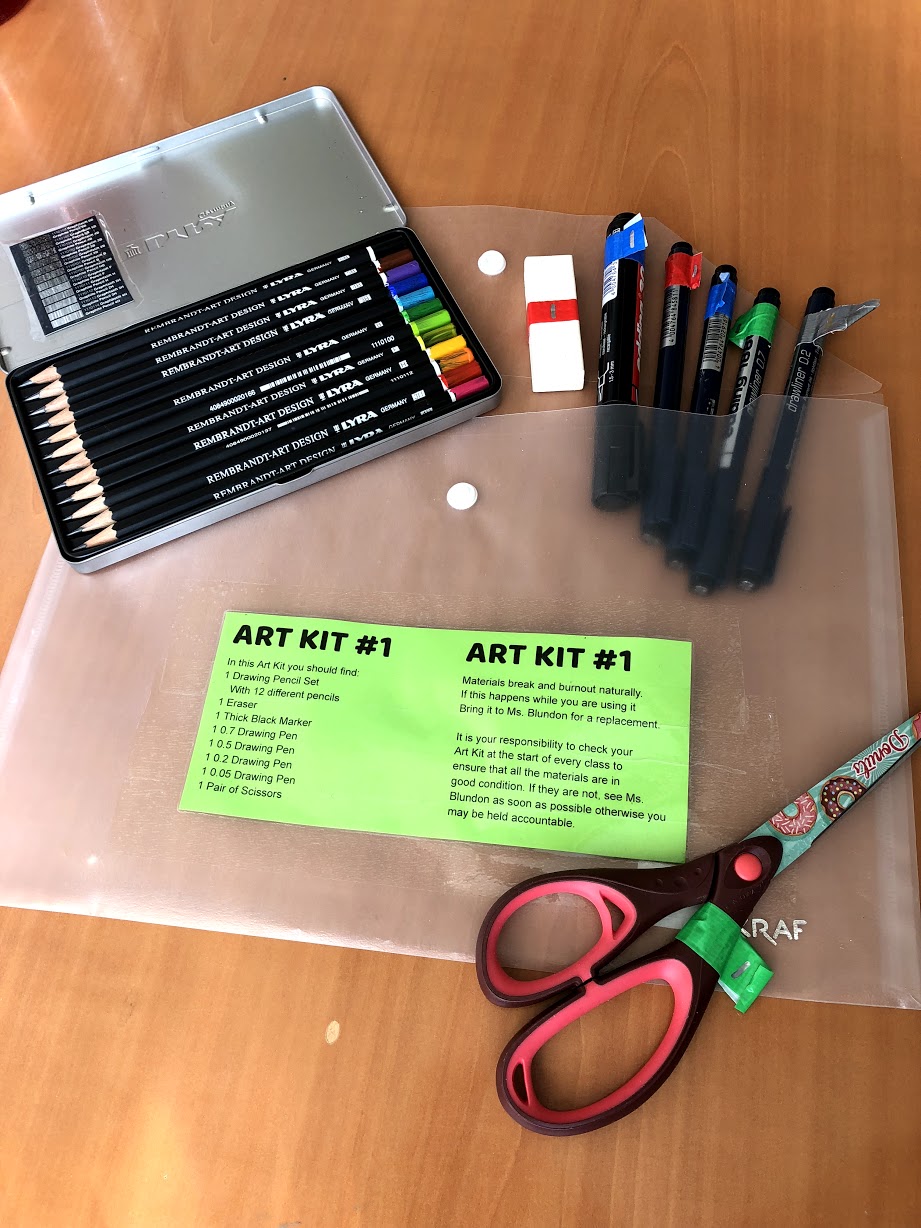
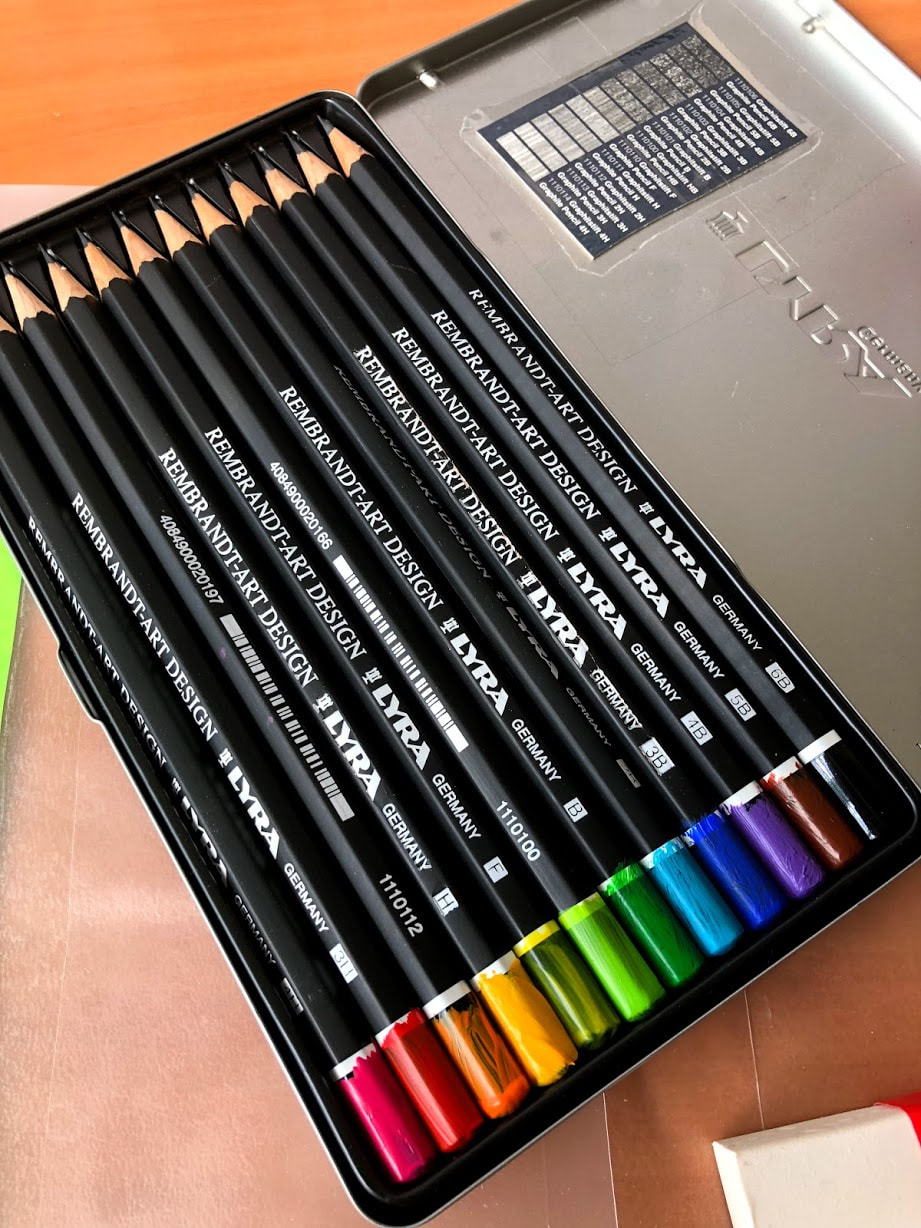
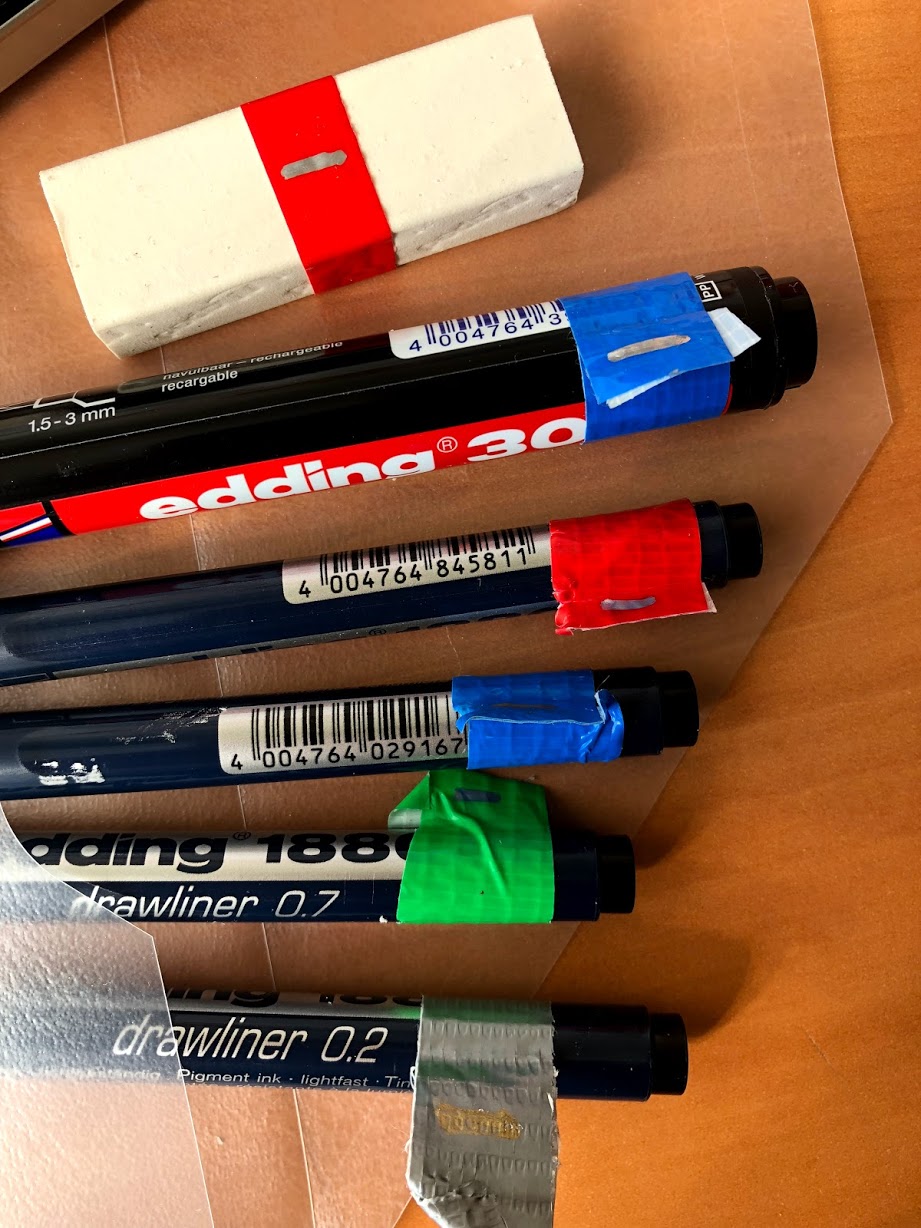
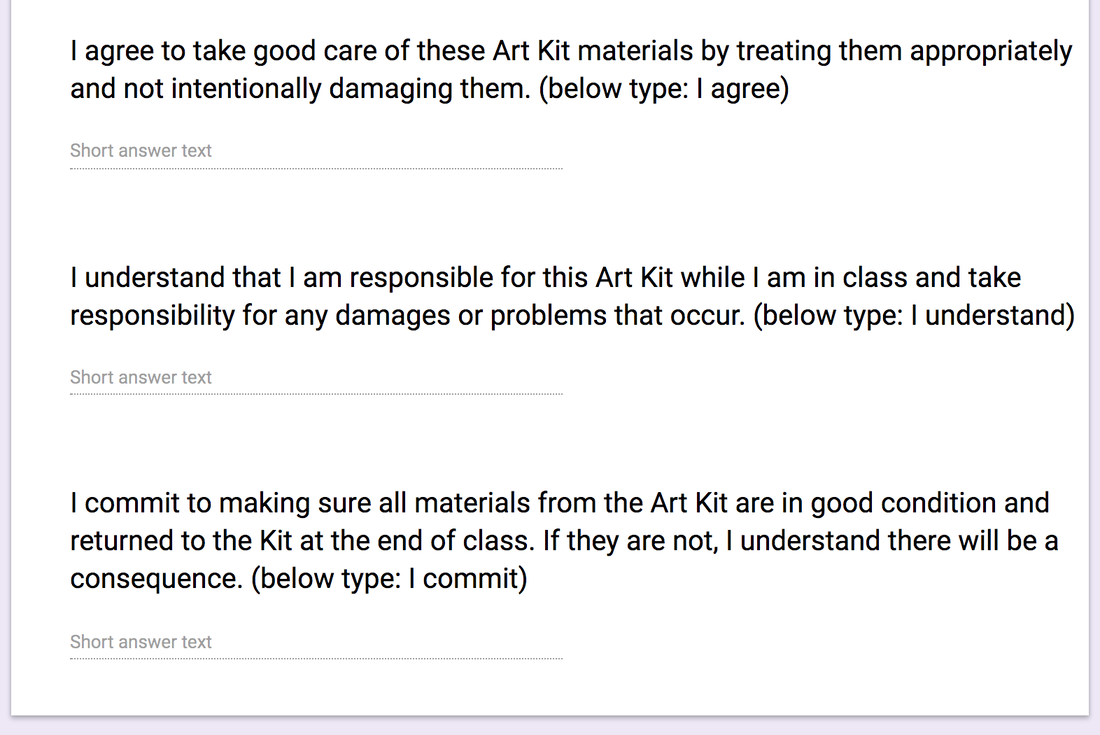
As all TAB art teachers do, I am constantly thinking about the organization of the art studio and supplies. My room has a lot of challenges but it also some great things going for it. As we are starting off a new school year I wanted to try out a fresh idea: Class Art Kits. The idea evolved from frustrations of un-cared for supplies from last year. Specifically the drawing pens - which everyone LOVES - would go missing every class. The erasers were used as frustration relief and had constant holes stabbed in them before they disappeared all together. The teacher before me ordered a class set of gorgeous drawing pencils but I didn't dare bring them out for fear that they would be disassembled within minutes. It's not that my classes are crazy or the students don't know how to put things away properly, but when we are rushed cleaning up and getting to the next class students take shortcuts. Reflecting on those challenges I created these goals: - set up routines/expectations that help students be successful - develop a fool proof way to set clear expectations of desirable supplies - keep student ownership and responsibility on collecting, using, and putting away supplies - have a clear way to keep students accountable who are misusing supplies - keep supplies separate from the HS students (taught be another teacher - shared classroom) In comes the Class Art Kit. These are small kits of supplies that I developed. The Art Kits are assigned to each student in each of my classes by number. That student is responsible for the care of the supplies in the kit during their class period. If the next class finds something missing or broken, the previous student will be called in and held accountable. In each Art Kit I have placed: 1 Drawing Pencil Set With 12 different pencils 1 Eraser 1 Thick Black Marker 1 0.7 Drawing Pen 1 0.5 Drawing Pen 1 0.2 Drawing Pen 1 0.05 Drawing Pen 1 Pair of Scissors Other supplies that I am considering adding throughout the year: Art Knife Paint Brush Set Glue Stick I also have this written on each Kit: Materials break and burnout naturally. If this happens while you are using it bring it to Ms. Blundon for a replacement. It is your responsibility to check your Art Kit at the start of every class to ensure that all the materials are in good condition. If they are not, see Ms. Blundon as soon as possible otherwise you may be held accountable. To introduce the Art Kits, I am having each student complete this Google Form Quiz that includes them agreeing to care for and take responsibility of the supplies. Art Kit Quiz & AgreementEach material in the Kit is labeled with the Kit number. I painted the end of each drawing pencil a different color to help quickly tell the difference. It has taken a few weeks of work here and there to prep the whole Kit but I'm hoping that it will be worth it to keep supplies in good shape and teach students more responsibility. Here's hoping!
|
The Blog!. The writings and happenings of What's Going On In The Art Room, written by Ms. Alisa Blundon in Istanbul, Turkey
Recent PostsGuiding Students to Independence through the Artistic Thinking Process
Class Art Kits | Student Responsibility of Supples Inspiration Around the Room Draw Around the Room Archives
March 2020
Categories
All
|

 RSS Feed
