6th Grade - Abstract Art
IntroductionIn this unit we will be exploring ABSTRACT ART. There are many different kinds of Abstract Art, some that you can tell what the artist is trying to portray and others that are a mix of colors and shapes. Although it may look confusing, Abstract Art is usually expressing an emotion or feeling. But the great thing about Abstraction is that the viewer can decide on the meaning for themselves! Over the next few weeks we will be learning about different styles of abstract art. Watch this intro video to start.
|
|
Final Abstract Artwork
It's time for you to create an abstract artwork of your own. Follow the steps below to plan, sketch, and create your own abstract artwork.
1. Decide on a style - you can use a style that we've looked at together or a different style of abstract art. Use the resources on this presentation to explore some other kinds of abstract art. Choose a style that you think is interesting.
2. Decide on meaning - choose an idea, feeling, or personal meaning that you want to express. How will you show your meaning within your abstract style? Hint: focus on colors that show the emotion
3. Make a sketch - create a sketch of your idea and post it to SeeSaw. Be sure to explain your plan in the comment including the style that you choose and the meaning you are expressing.
4. Create your artwork! - Use strong craftsmanship to create a finished, final artwork.
Week 3: Surrealism
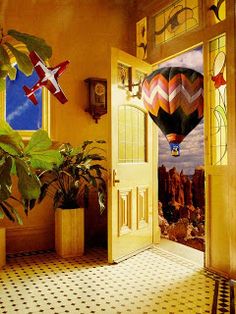
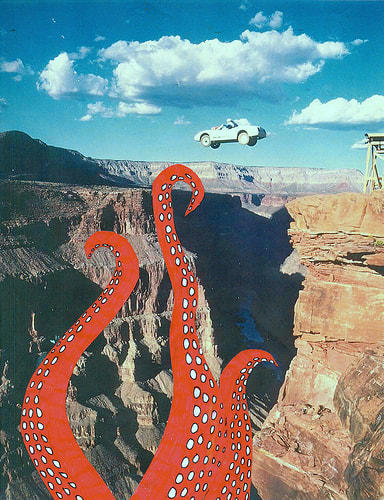
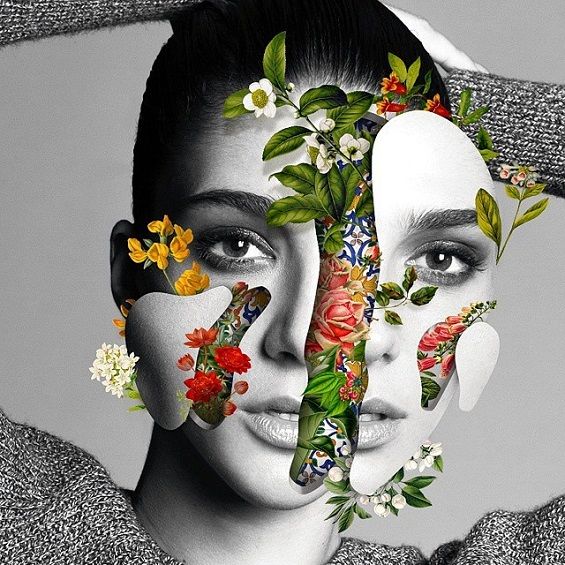
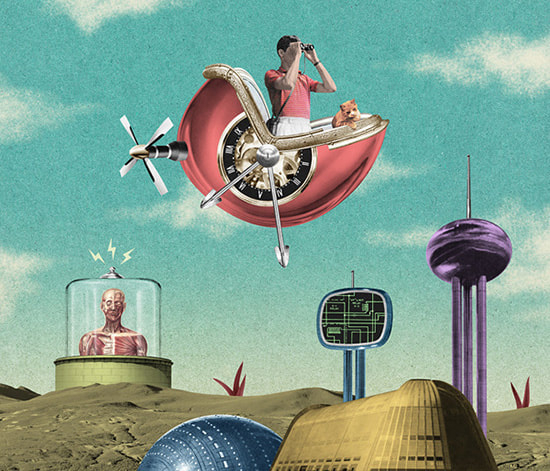
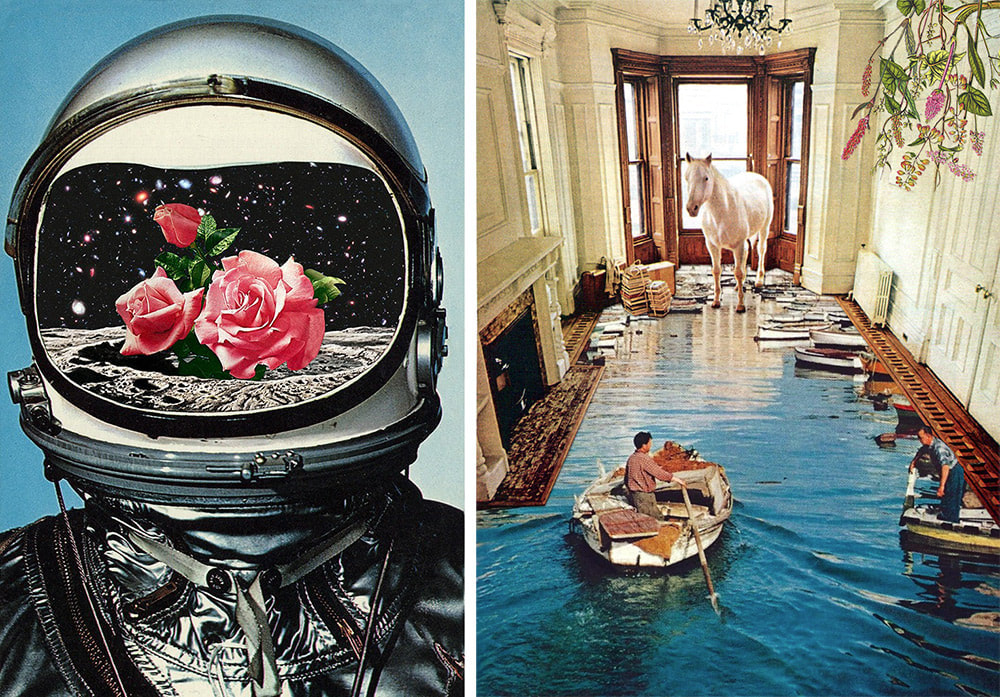
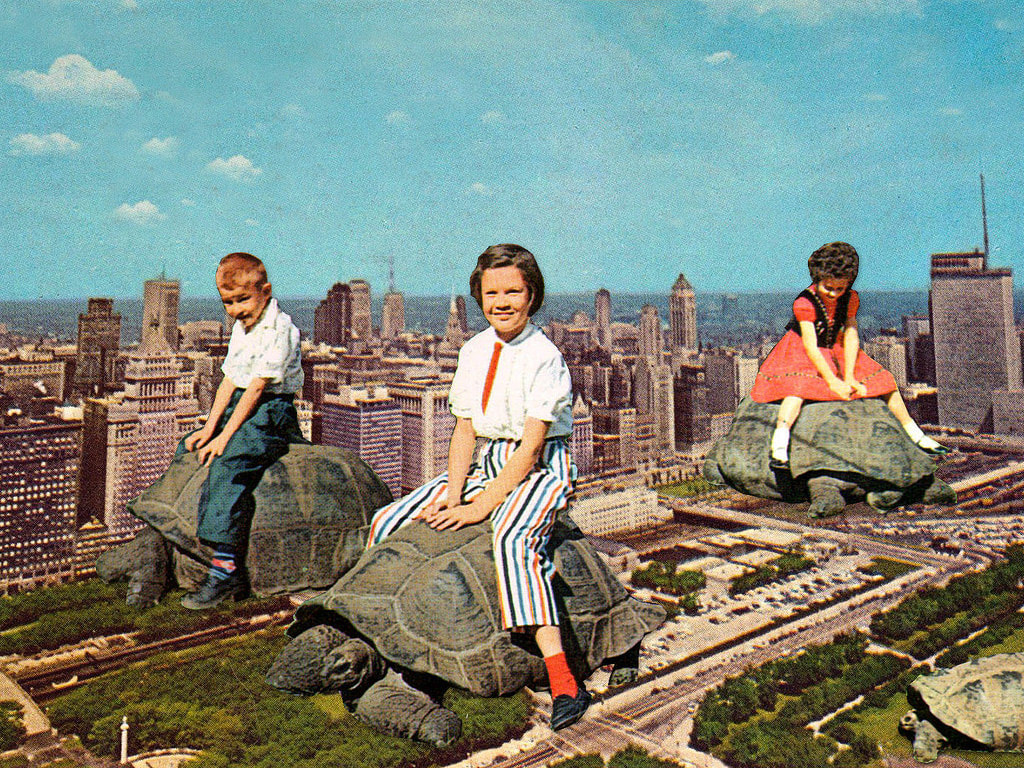
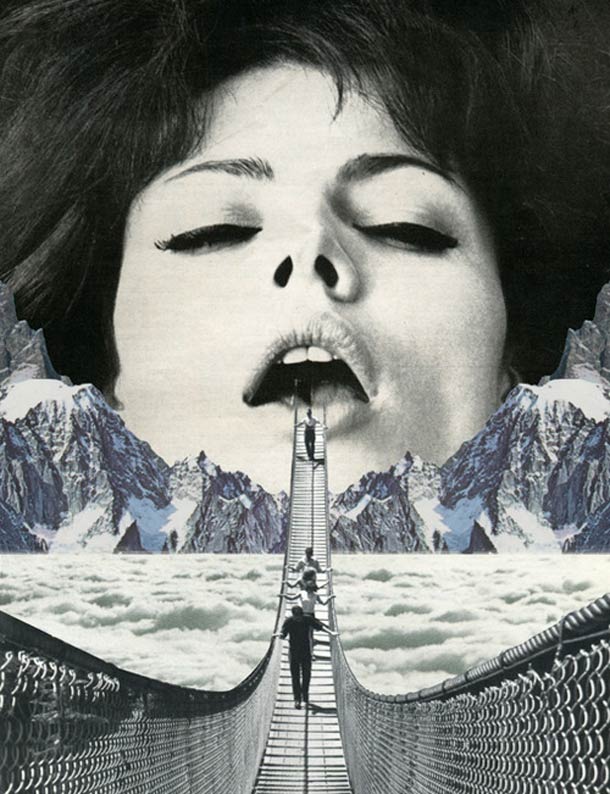
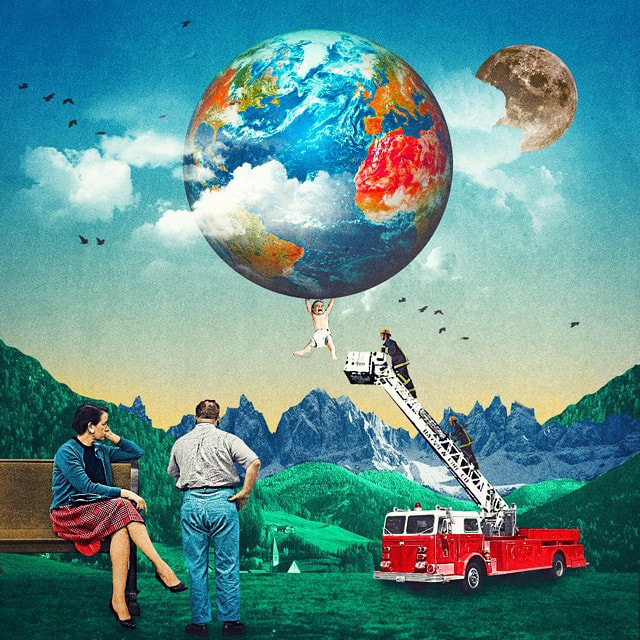
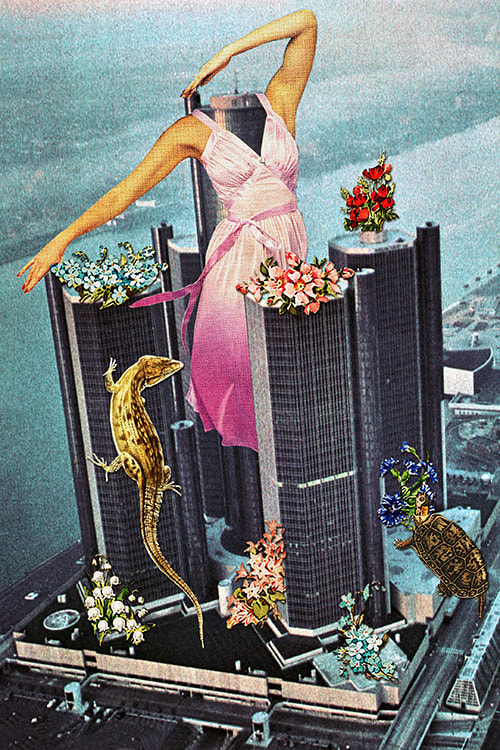
SurrealismArtist may be weird but the surrealist are the weirdest ones of them all! Like a dream that is both partly real and partly very strange and unreal - surrealist art has elements of reality while expressing out-of-this world scenes.
|
|
Warm-Up:
Activity:
Create a Surrealist Collage
1. Go through some magazines and rip out images that are interesting to you
2. Decide on a large background scene and glue it to a plain paper
3. Add one or two large elements on top of your background
4. Add a few medium elements that interact with the large elements
5. Place some small details and glue everything down
*Be thoughtful about the images you choose and how they go together, make sure they have an interesting connection to each other (do not just place pictures at random)
Examples:
Week 2: Impressionism
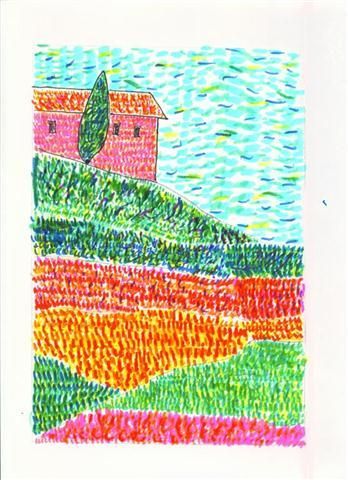
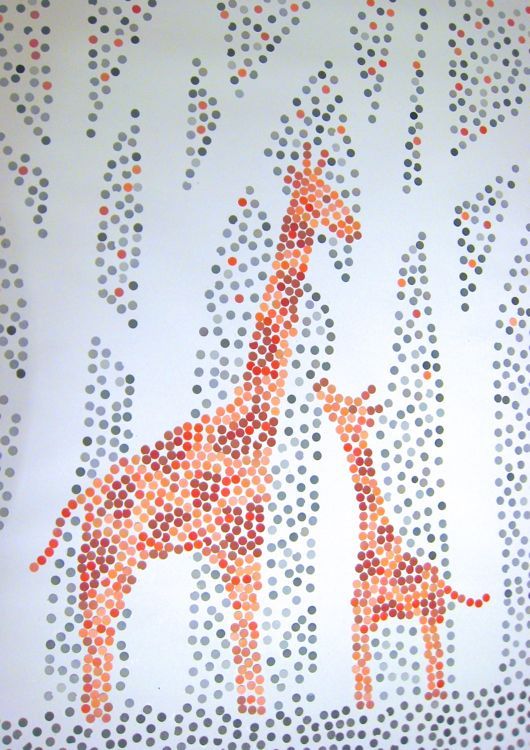
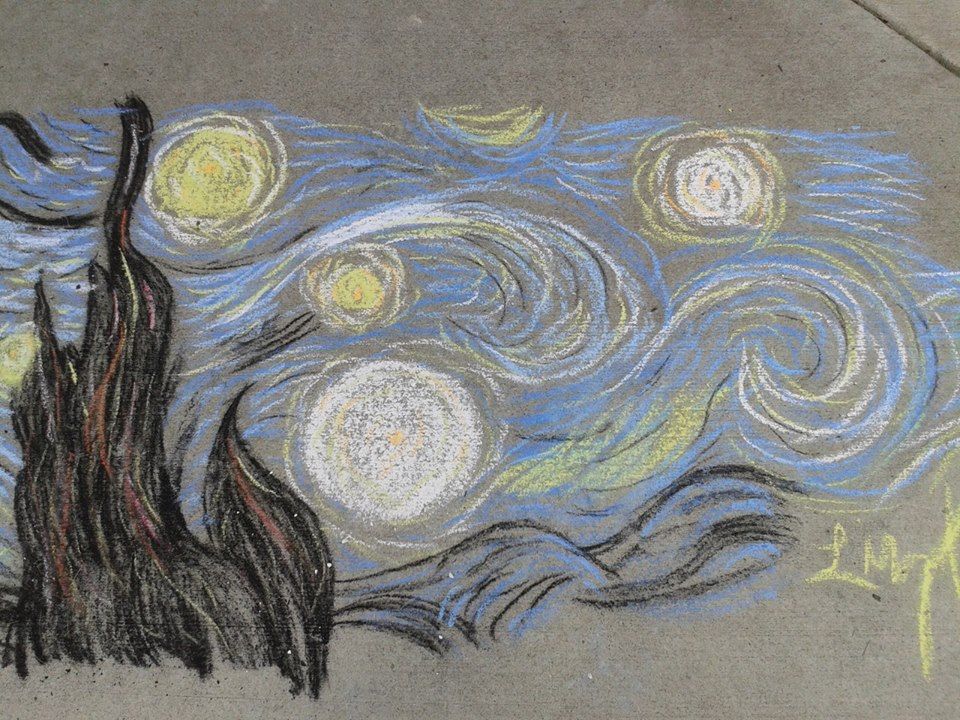
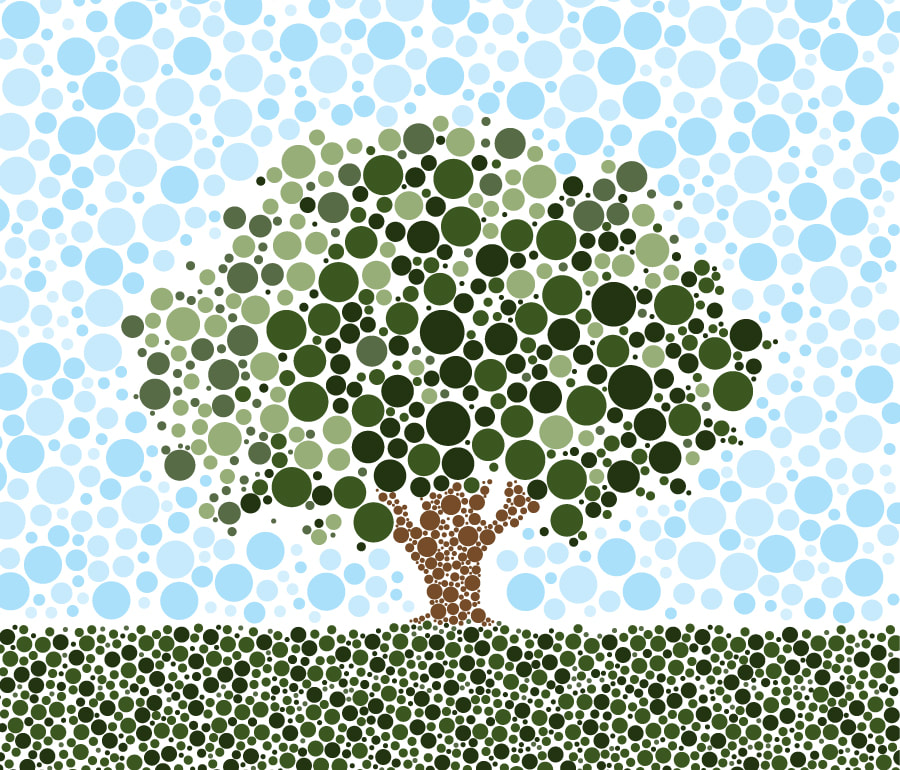
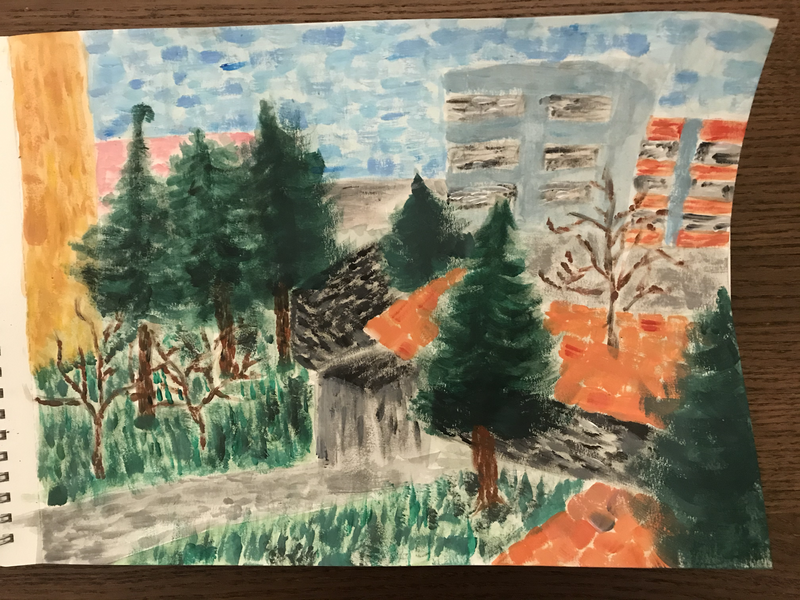
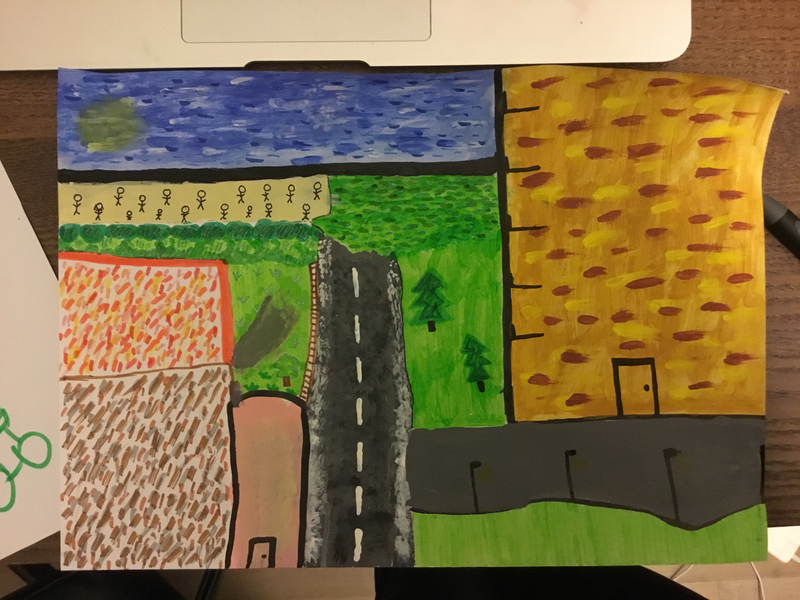
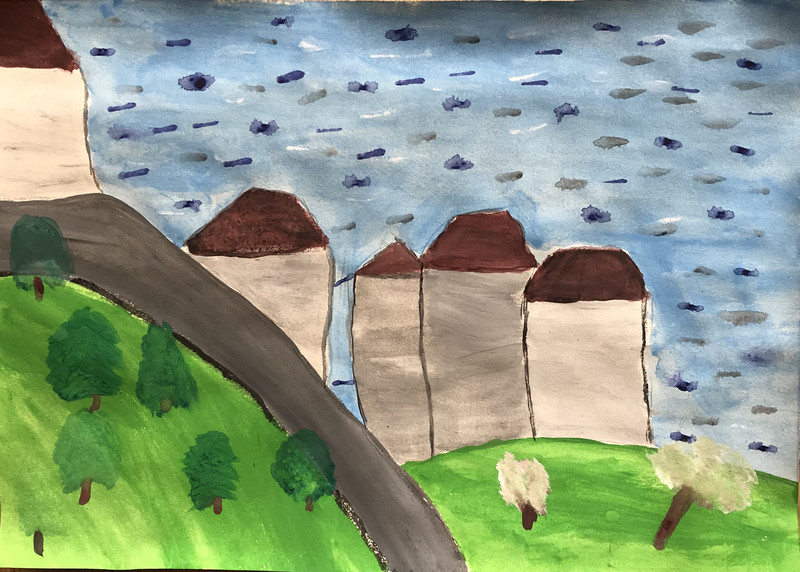
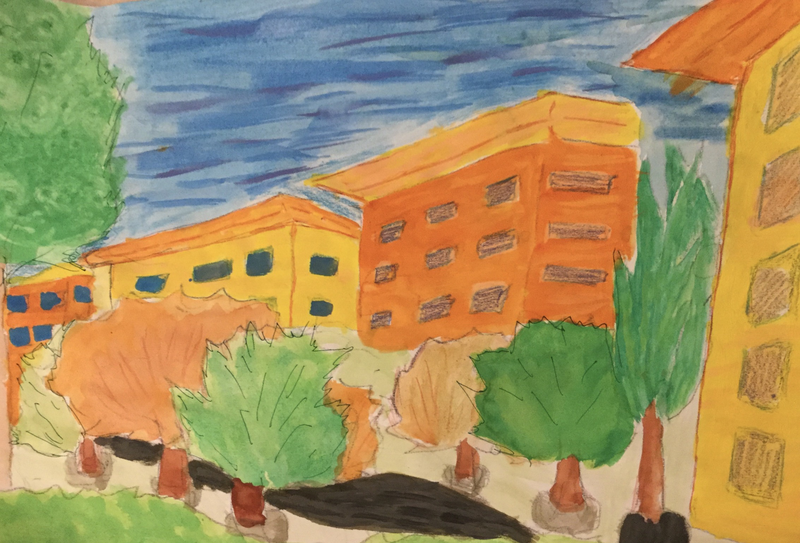
ImpressionismThe next type of abstract-ish art we will look at is Impressionism (and Post-Impressionism). In this art style, painters like Claude Monet, Paul Cezanne, Henri Matisse, Vincent Van Gogh, and Berthe Morisot, tried to express not only what the scene looked like but also the impression they got from it - or the feelings that were apparent. They often would paint live and would need to do it quickly so they used dabs of colors instead of mixing their paint smoothly.
|
|
Activity:
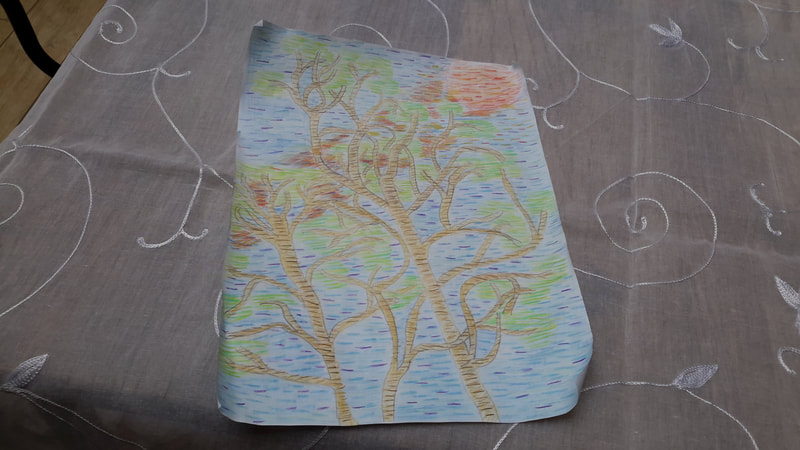
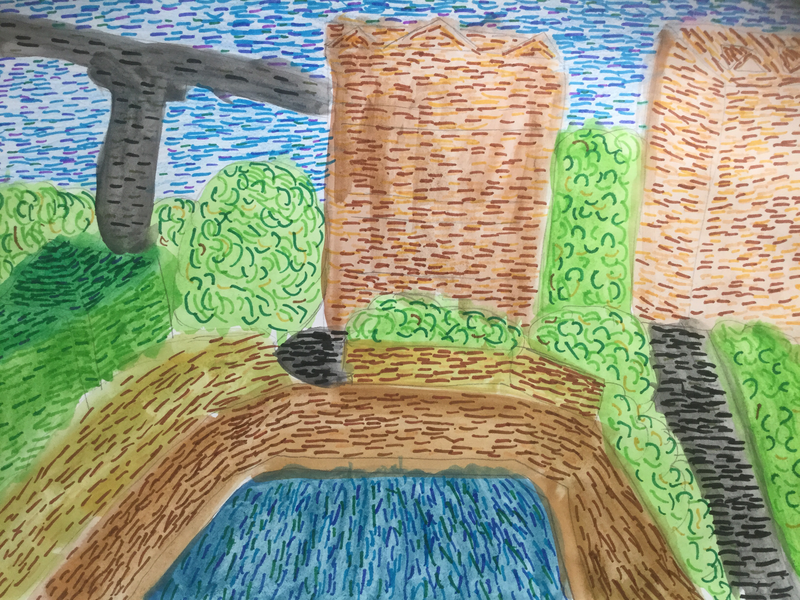
Impressionist Window View
1. Choose your materials (look below for ideas)
2. Find a view from a window in your home that you think is interesting
3. Draw a simple landscape with pencil (you can add to your landscape if you choose)
4. Fill in each part of the landscape with a solid color for the background
5. Using many colors without mixing them together dab or dot on different colors into each section
Material Examples:
Student Showcase:
Week 1: Zentangle
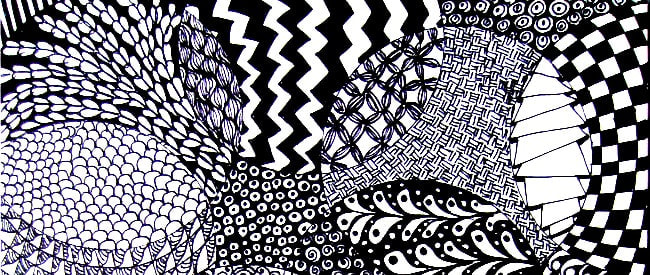
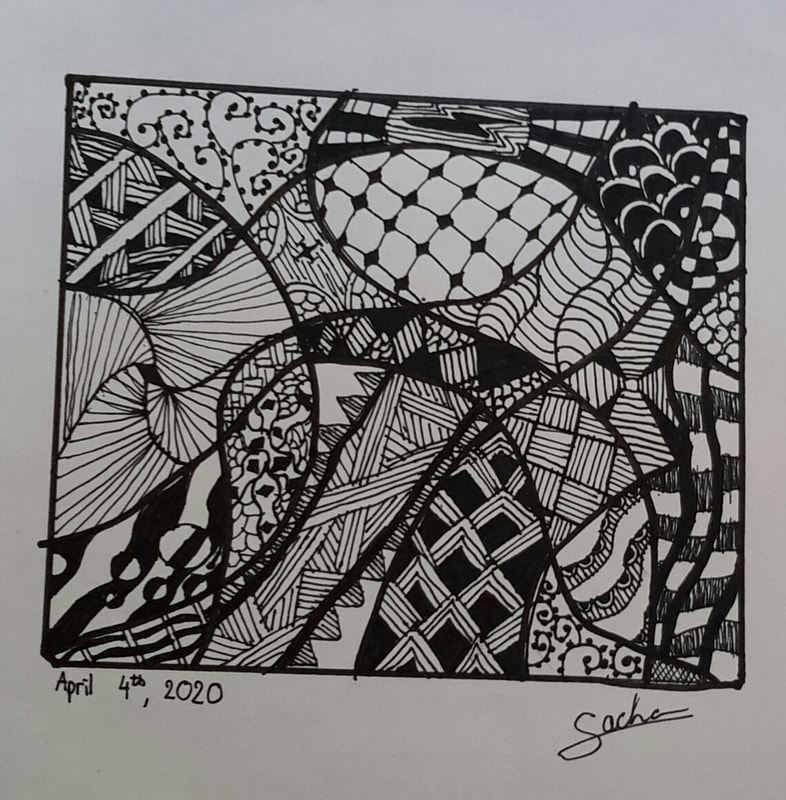
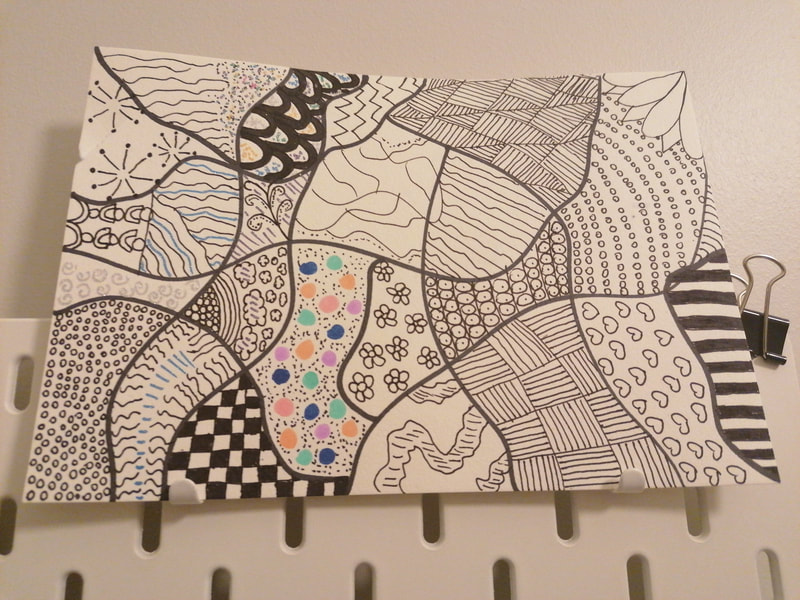
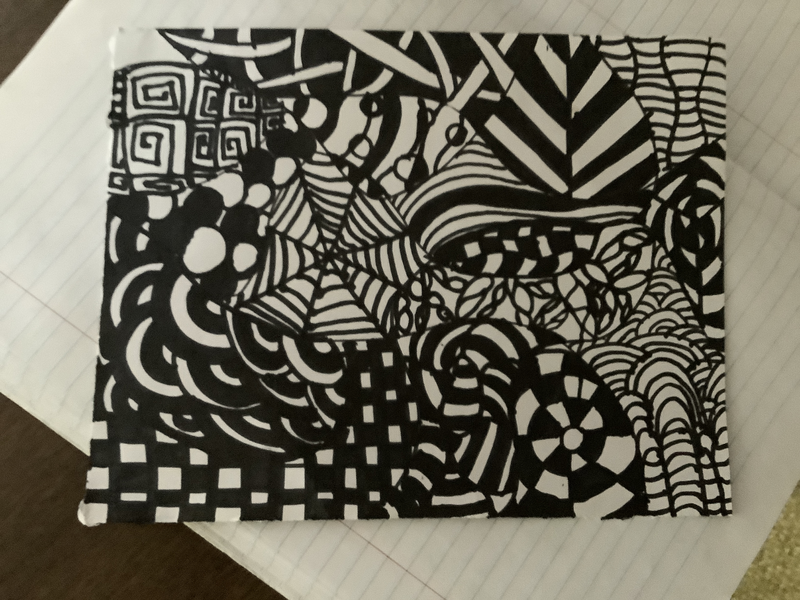
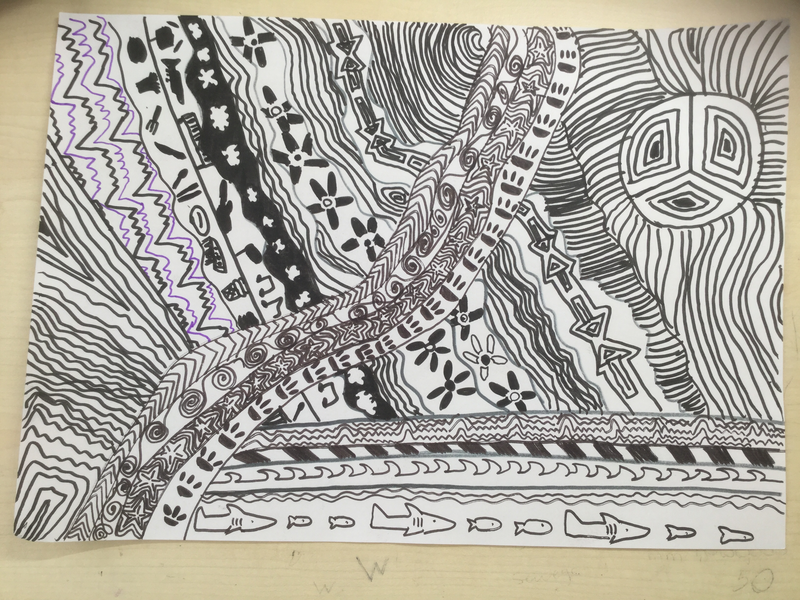
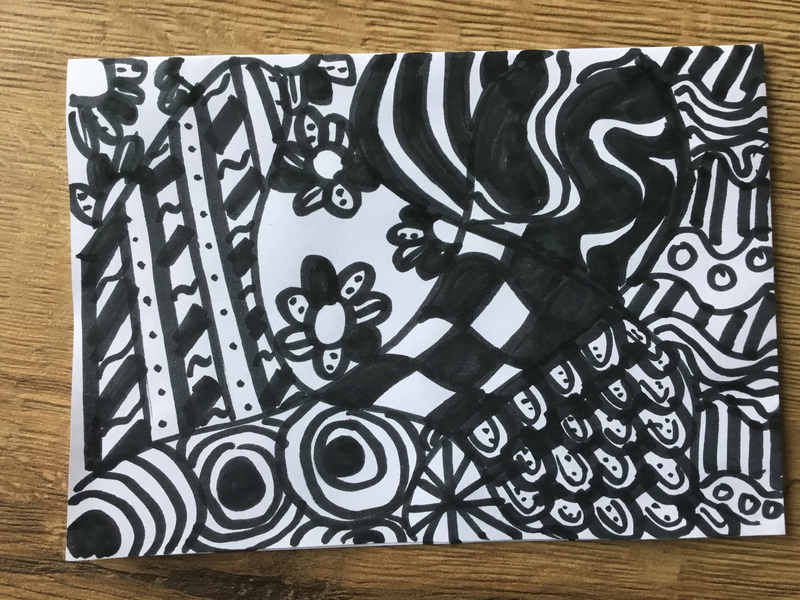
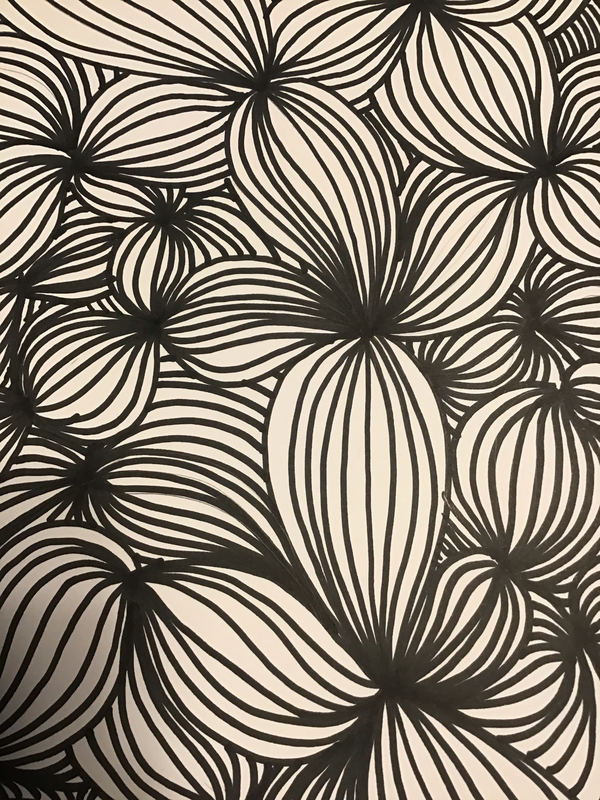
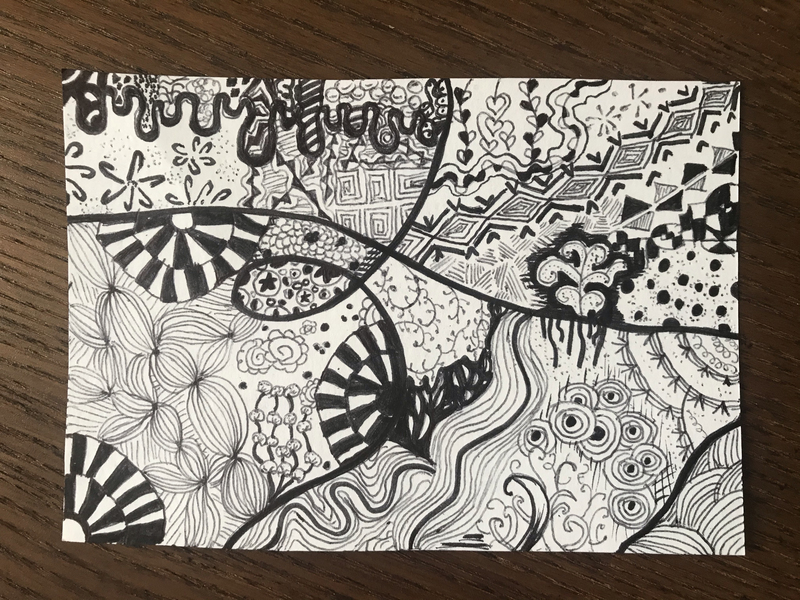
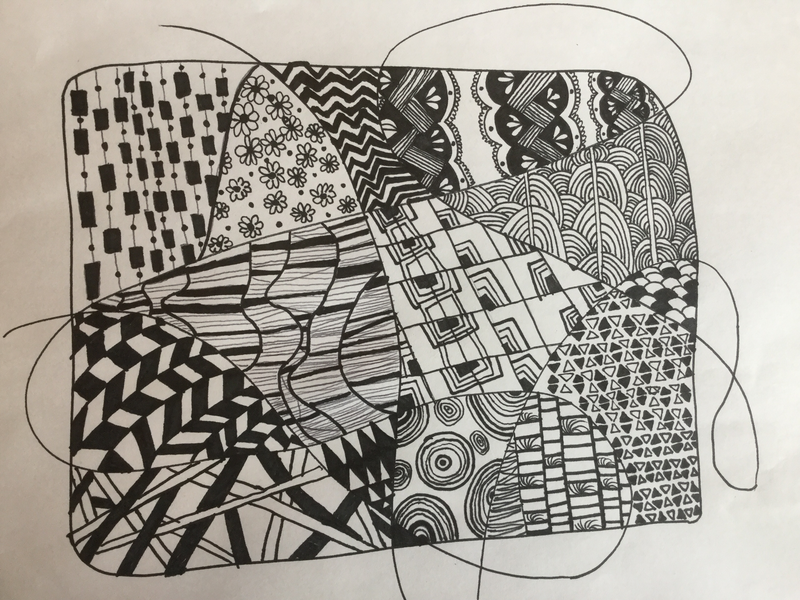
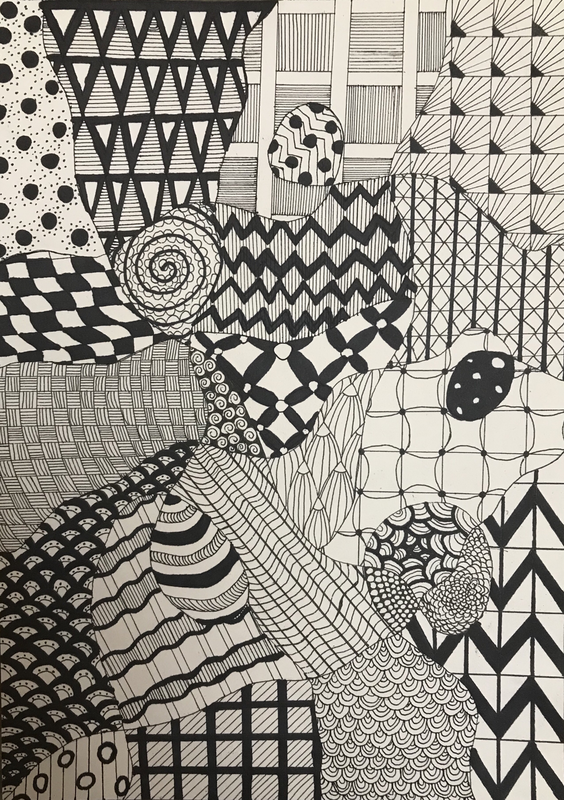
ZentanglesA Zentangle is like a fancy doodle. It combines being Zen - calm and meditative, and drawing repetitive patterns. Anyone can Zentangle! Learn about the history of Zentangles and see some examples here. Try it for yourself with these steps:
|
Steps:
1. Collect your materials. You will need:
- a blank paper (white or colored, but no lines)
- a thick marker (black is good but any color will work)
- a pen or thin marker (any color)
2. Find a quiet, calm space. Put on some relaxing music (try this)
3. Create your "string lines." These should go off one side of the paper, wave across your paper, then off another side.
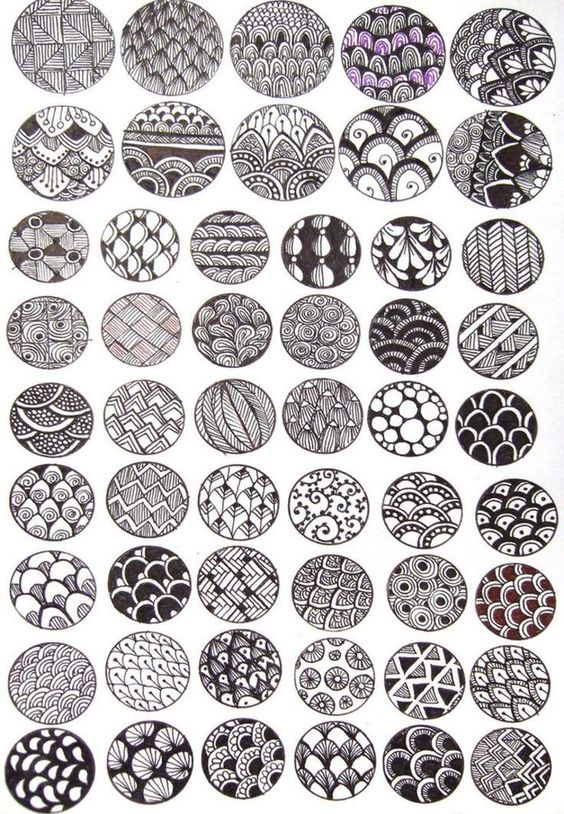
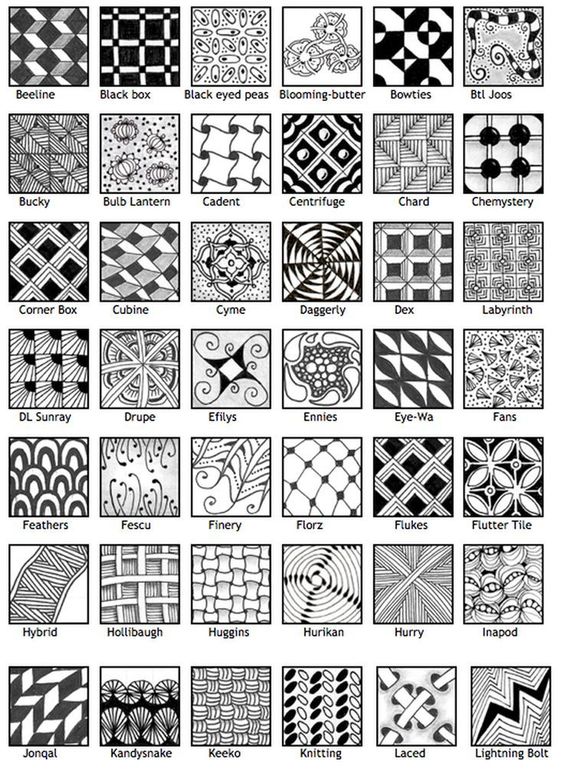
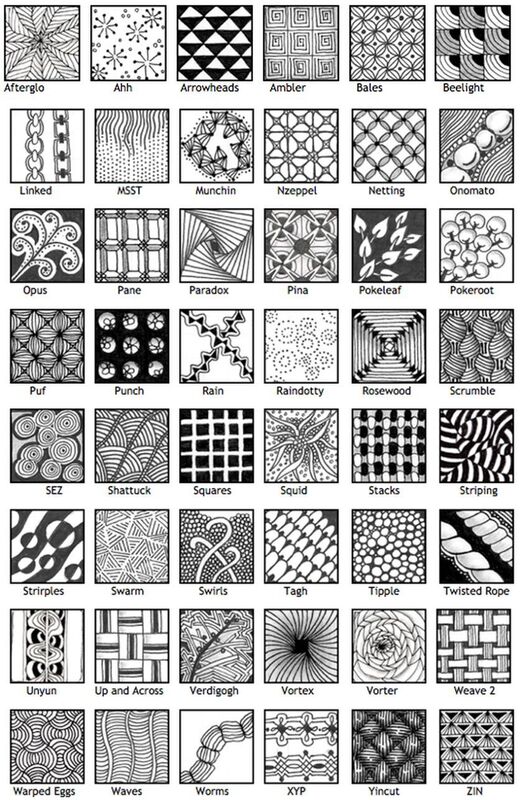
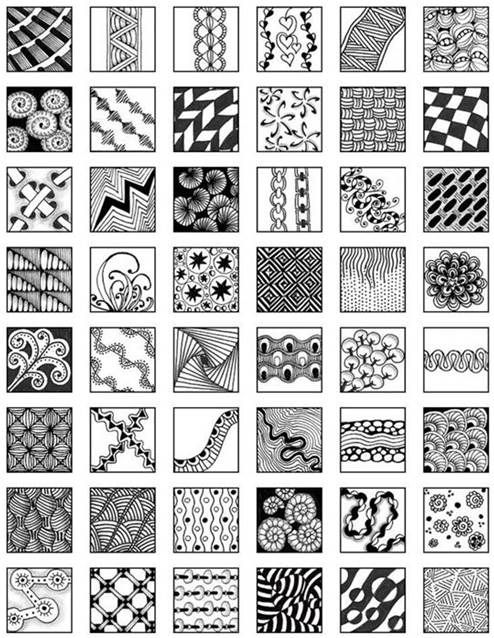
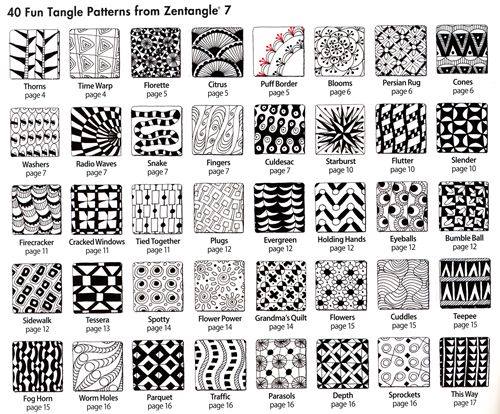
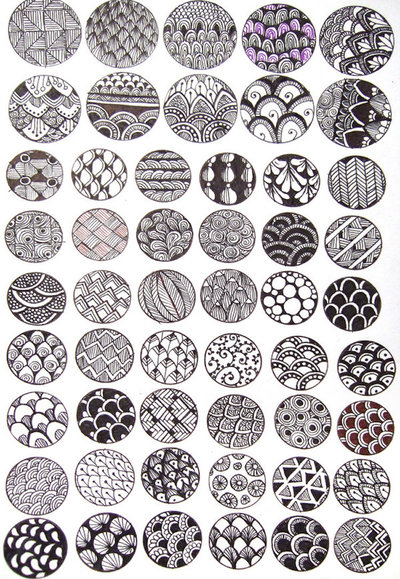
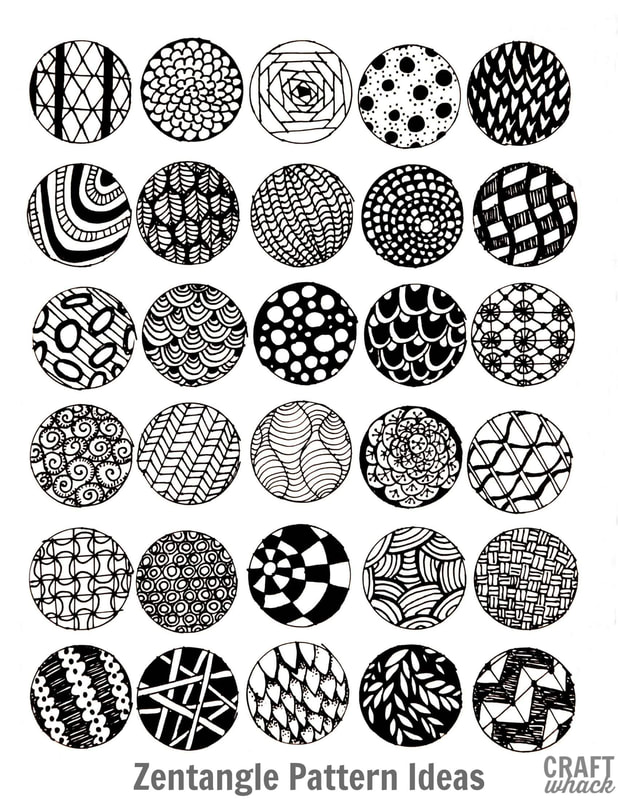
4. Fill each section in with a different pattern. Make up your own patterns or use the idea sheets below.
5. Make your patterns more interesting by coloring in areas or adding more details
Pattern Idea Sheets:
